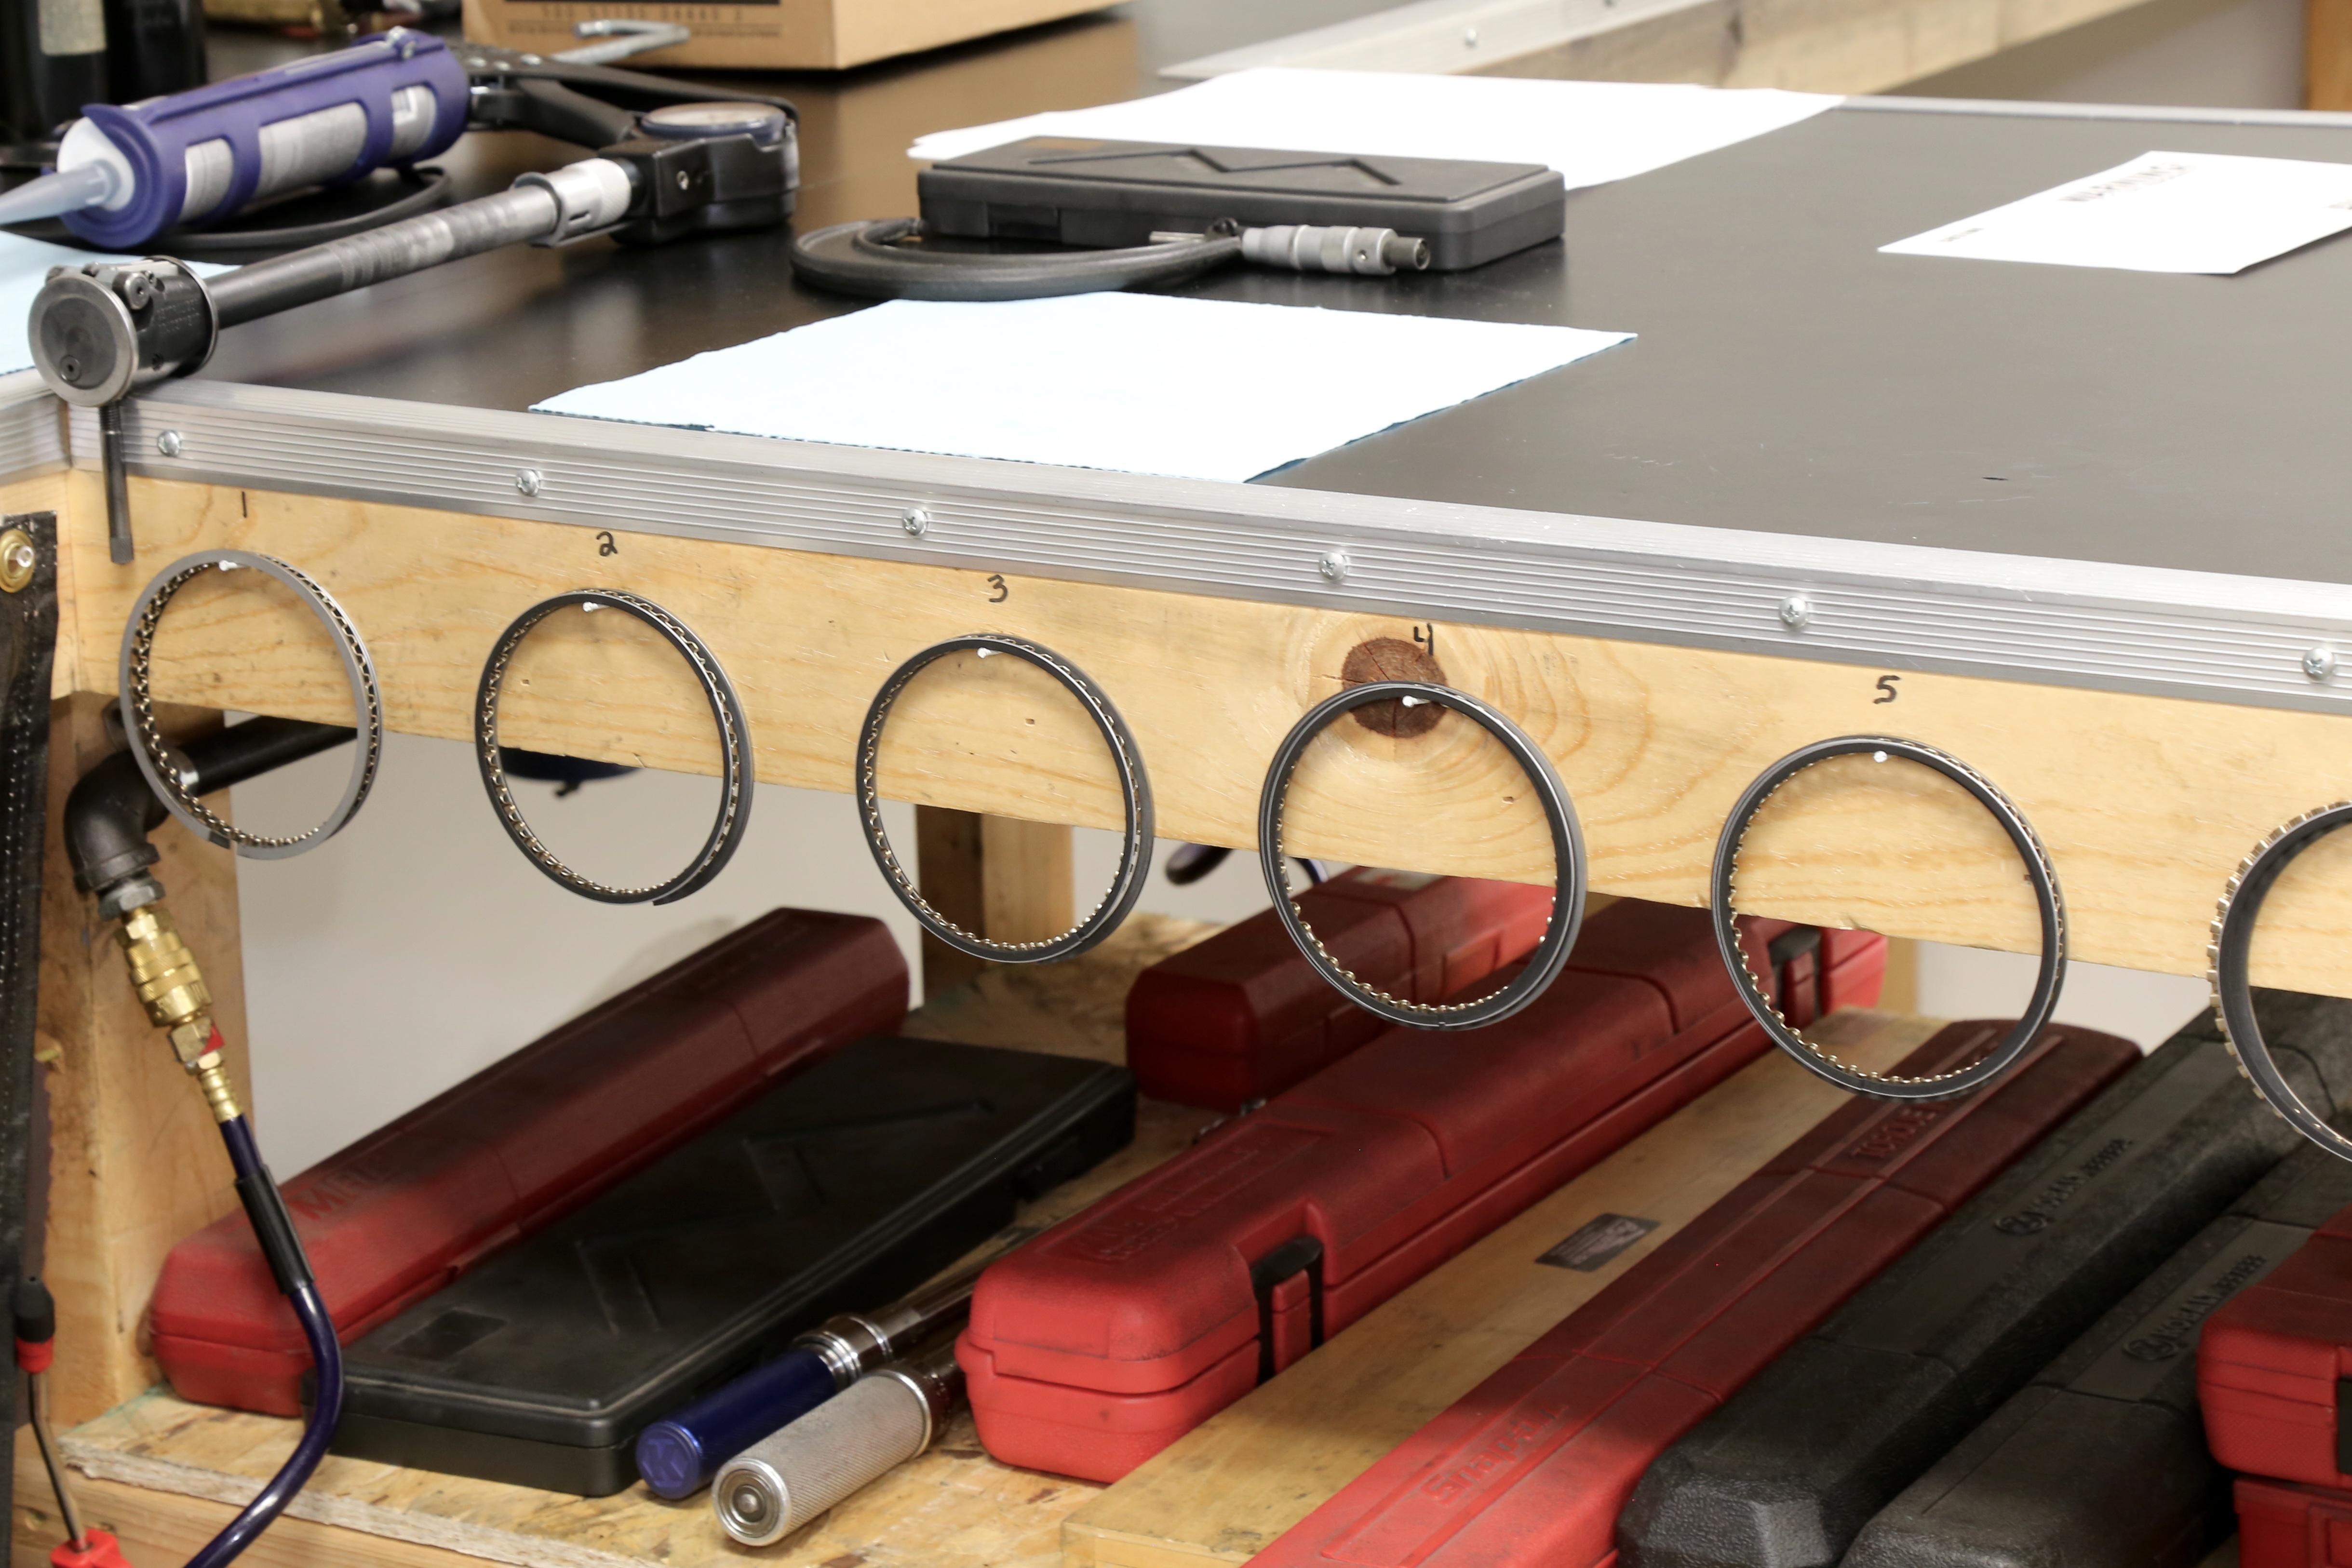
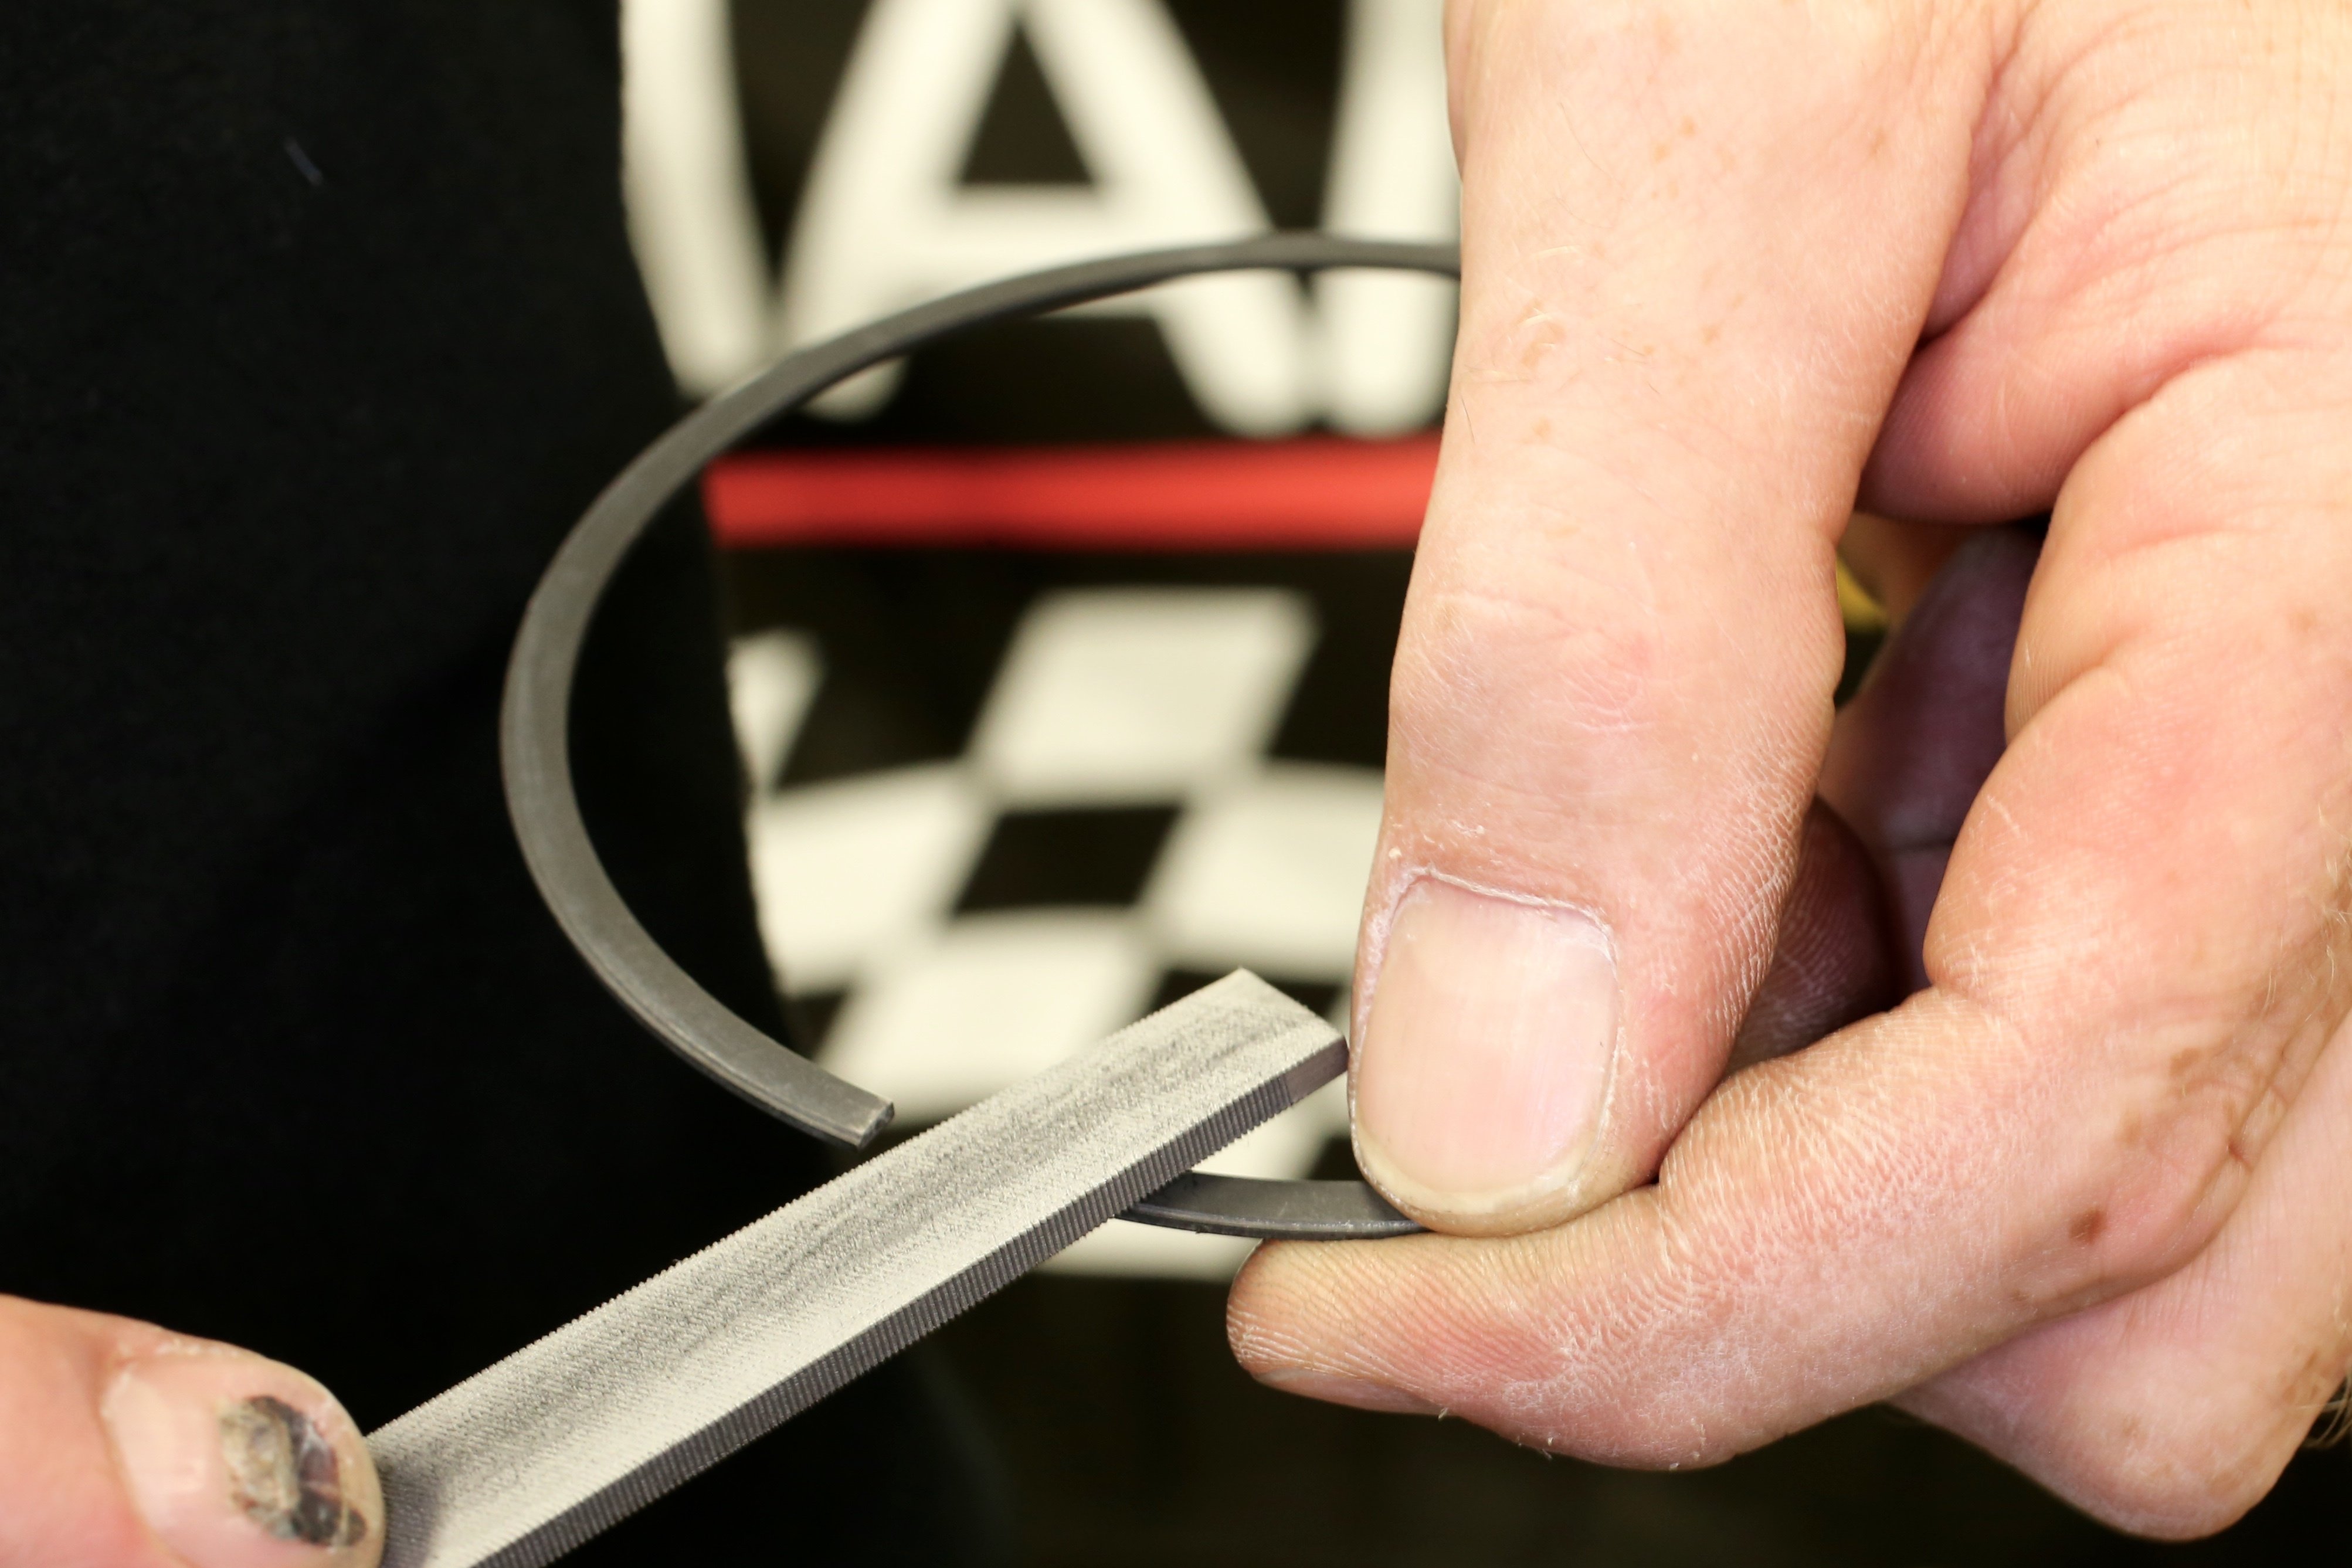
Perhaps the most critical engine assembly step is file fitting and installing the piston rings with the correct gap. We walk you through the process step-by-step in this story.
The piston rings are the key defense against cylinder pressure leaking into the crankcase, thereby leaving horsepower on the table. Rings also control oil and transfer heat. They’re valuable tools in the performance of any engine, and that’s why engine builders pay close attention to this tedious but very essential assembly step.
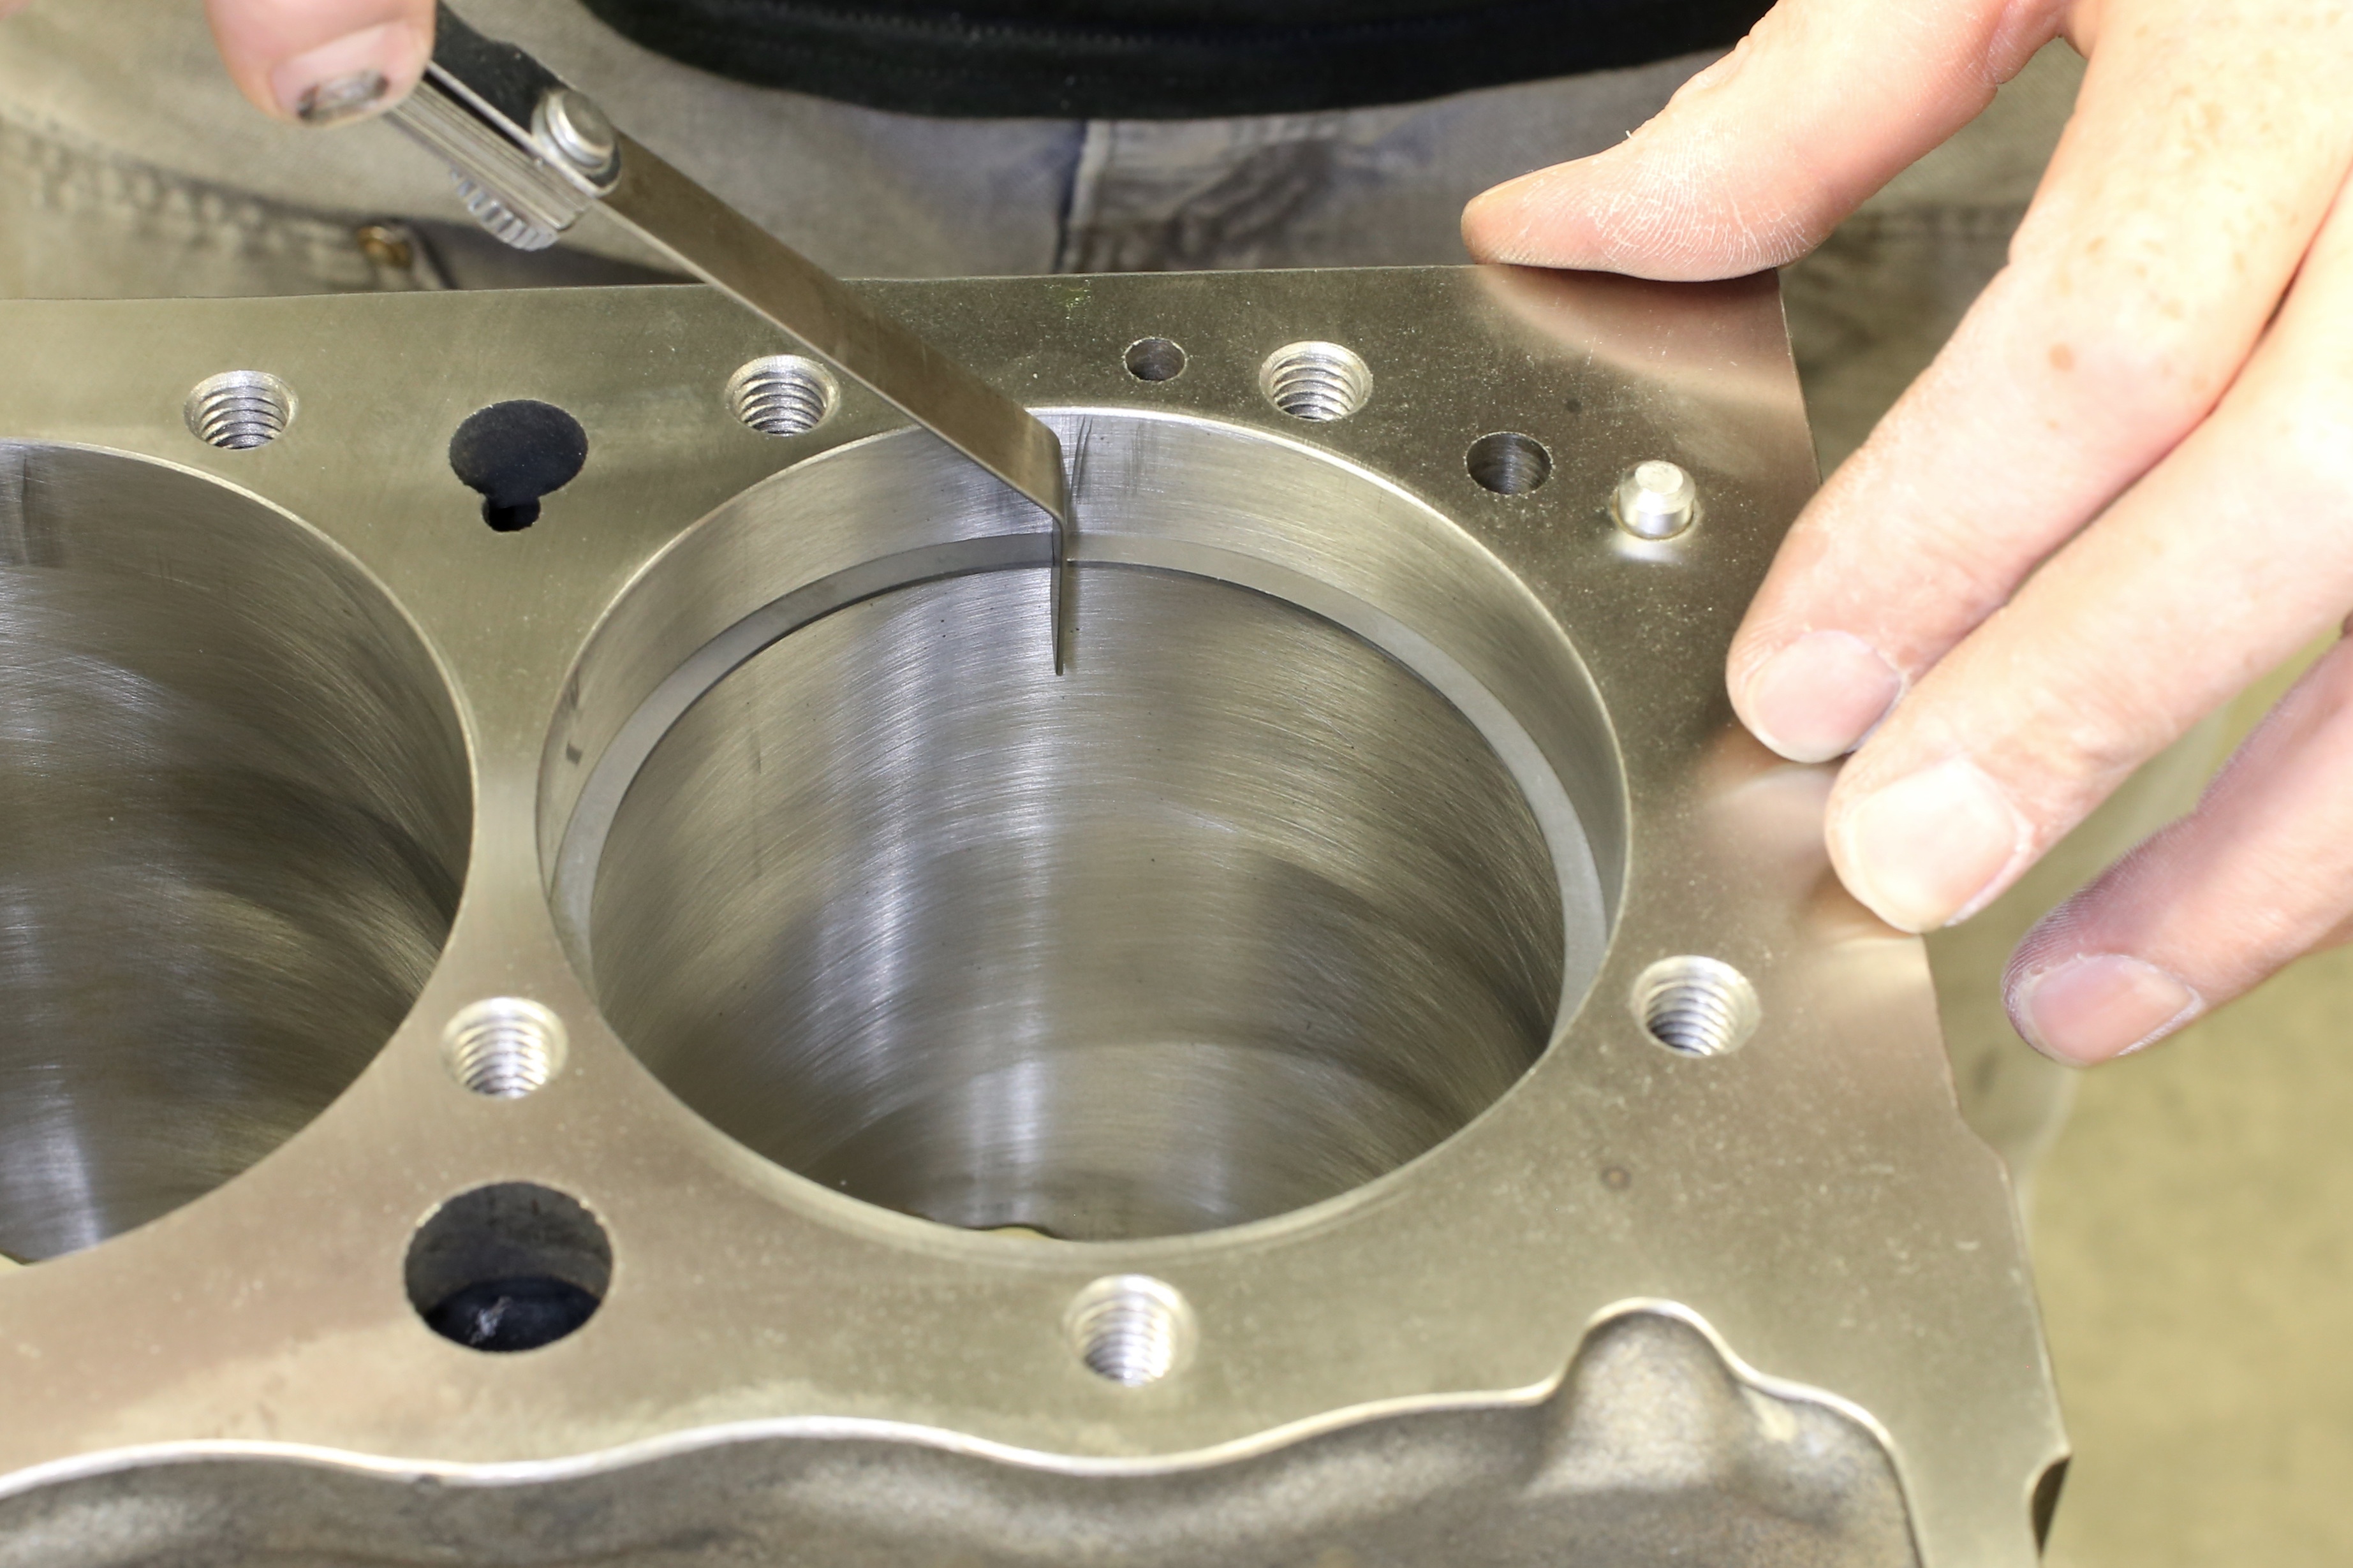
Correctly sizing of the gap for each ring is important because of heat. As the engine warms up, heat from the combustion chamber will force the rings to expand. A gap that is too tight may result in the rings binding (butting) within the groove and possibly breaking. A gap that is too wide will allow combustion pressure to fill the crankcase and reduce horsepower. Different engine setups and different fuels result in different thermal expansion properties within the piston, rings and cylinder walls—so the recommended ring gap changes between applications. Manufacturers take all these factors into consideration when developing gap recommendations for the engine builder.
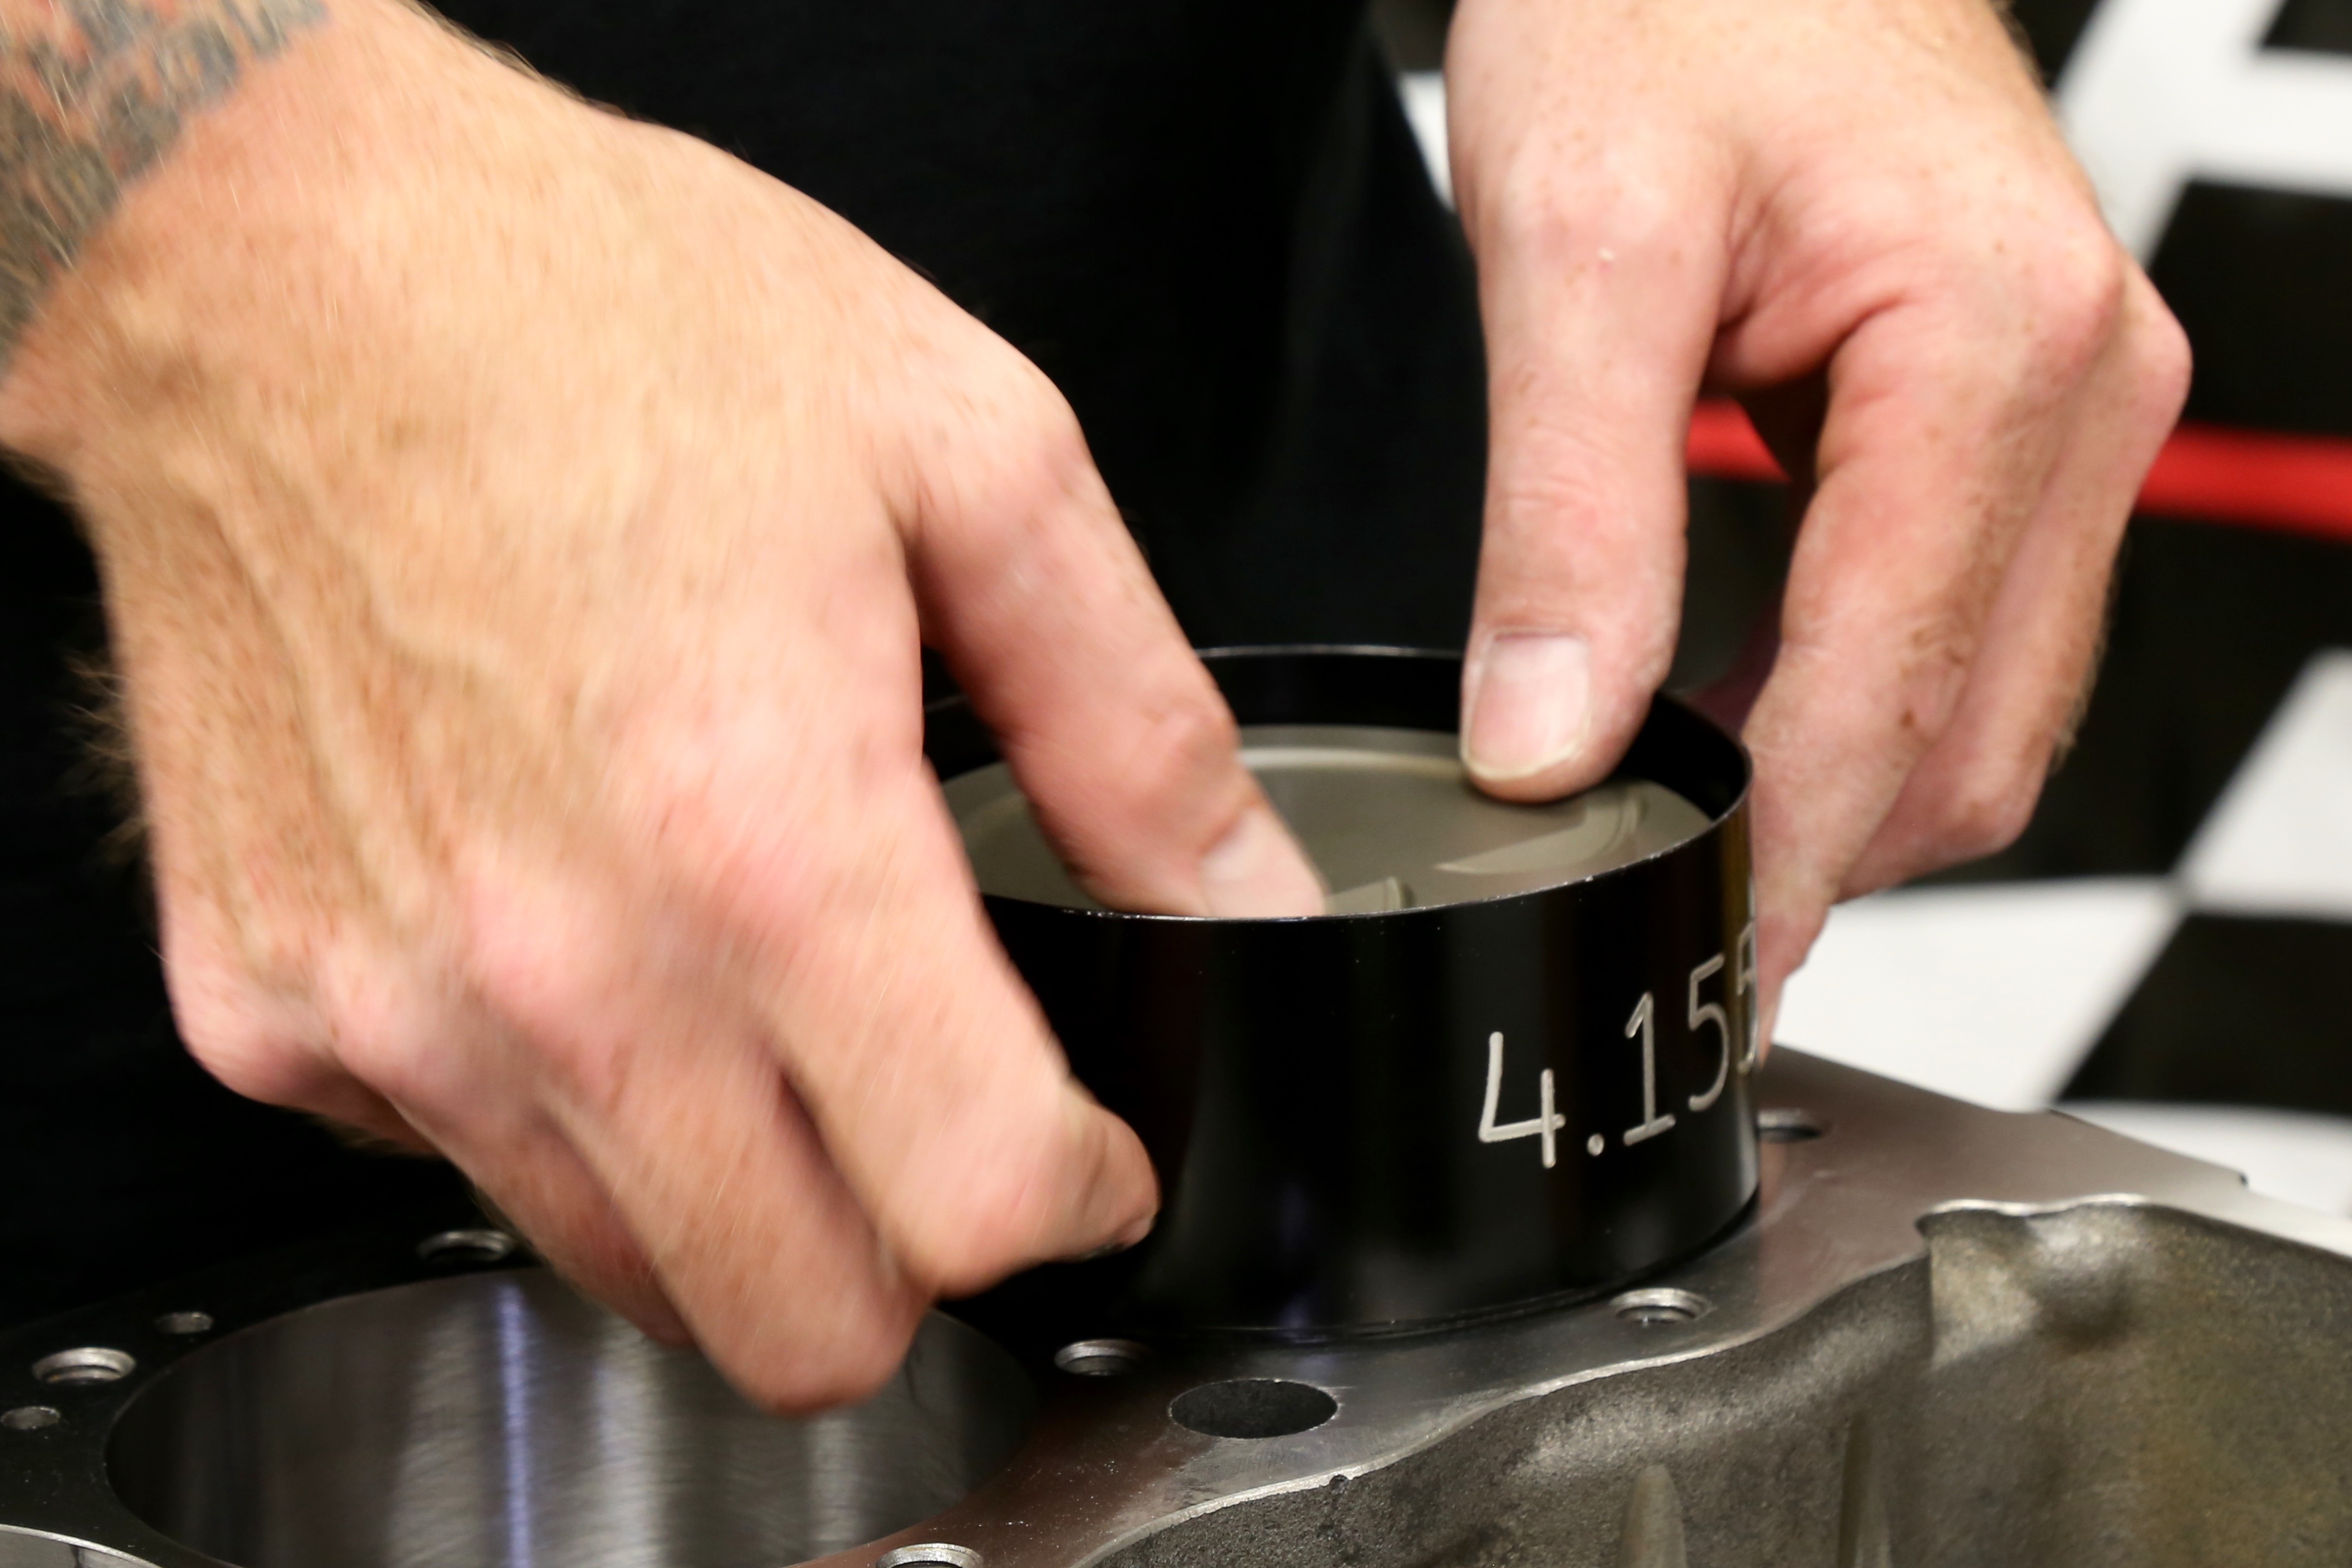
Another reason for the ring gap is simply because the ring must be split apart slightly in order to facilitate installation. There are dedicated tools, such as ring-expanding pliers that help engine builders install rings by holding the ring and expanding the gap just enough to clear the ring over the top of the piston and position the ring into its respective groove.
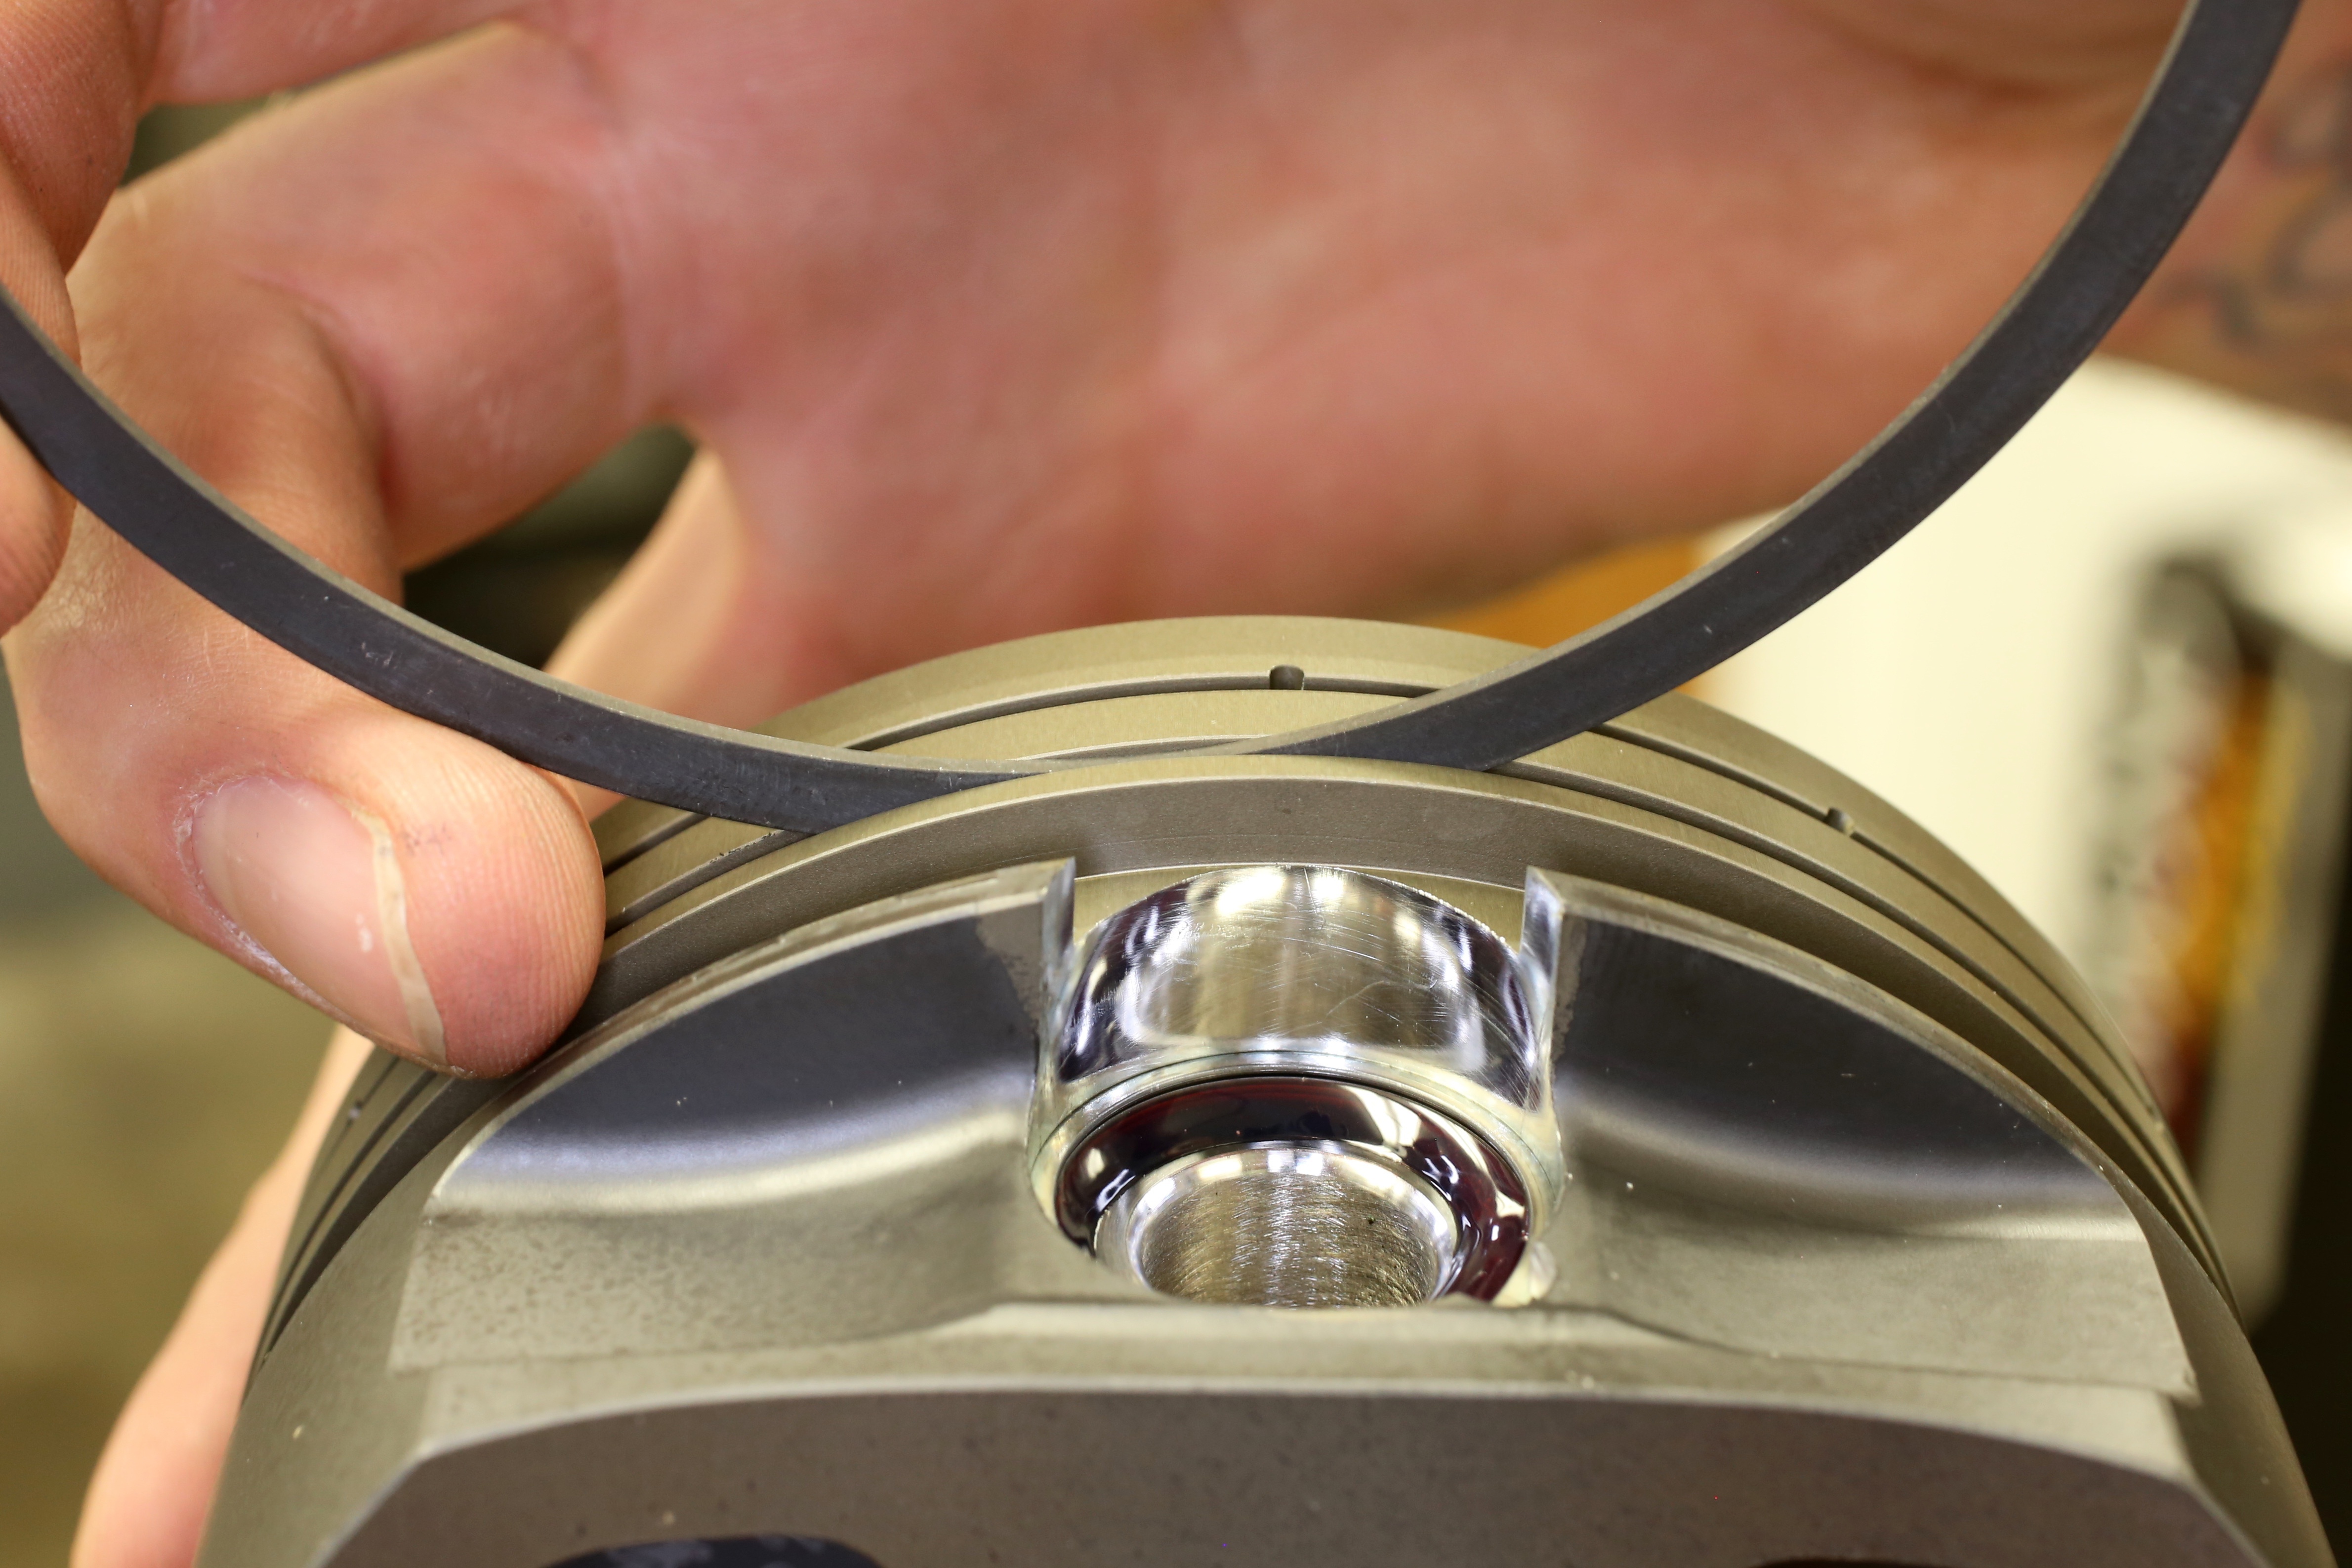
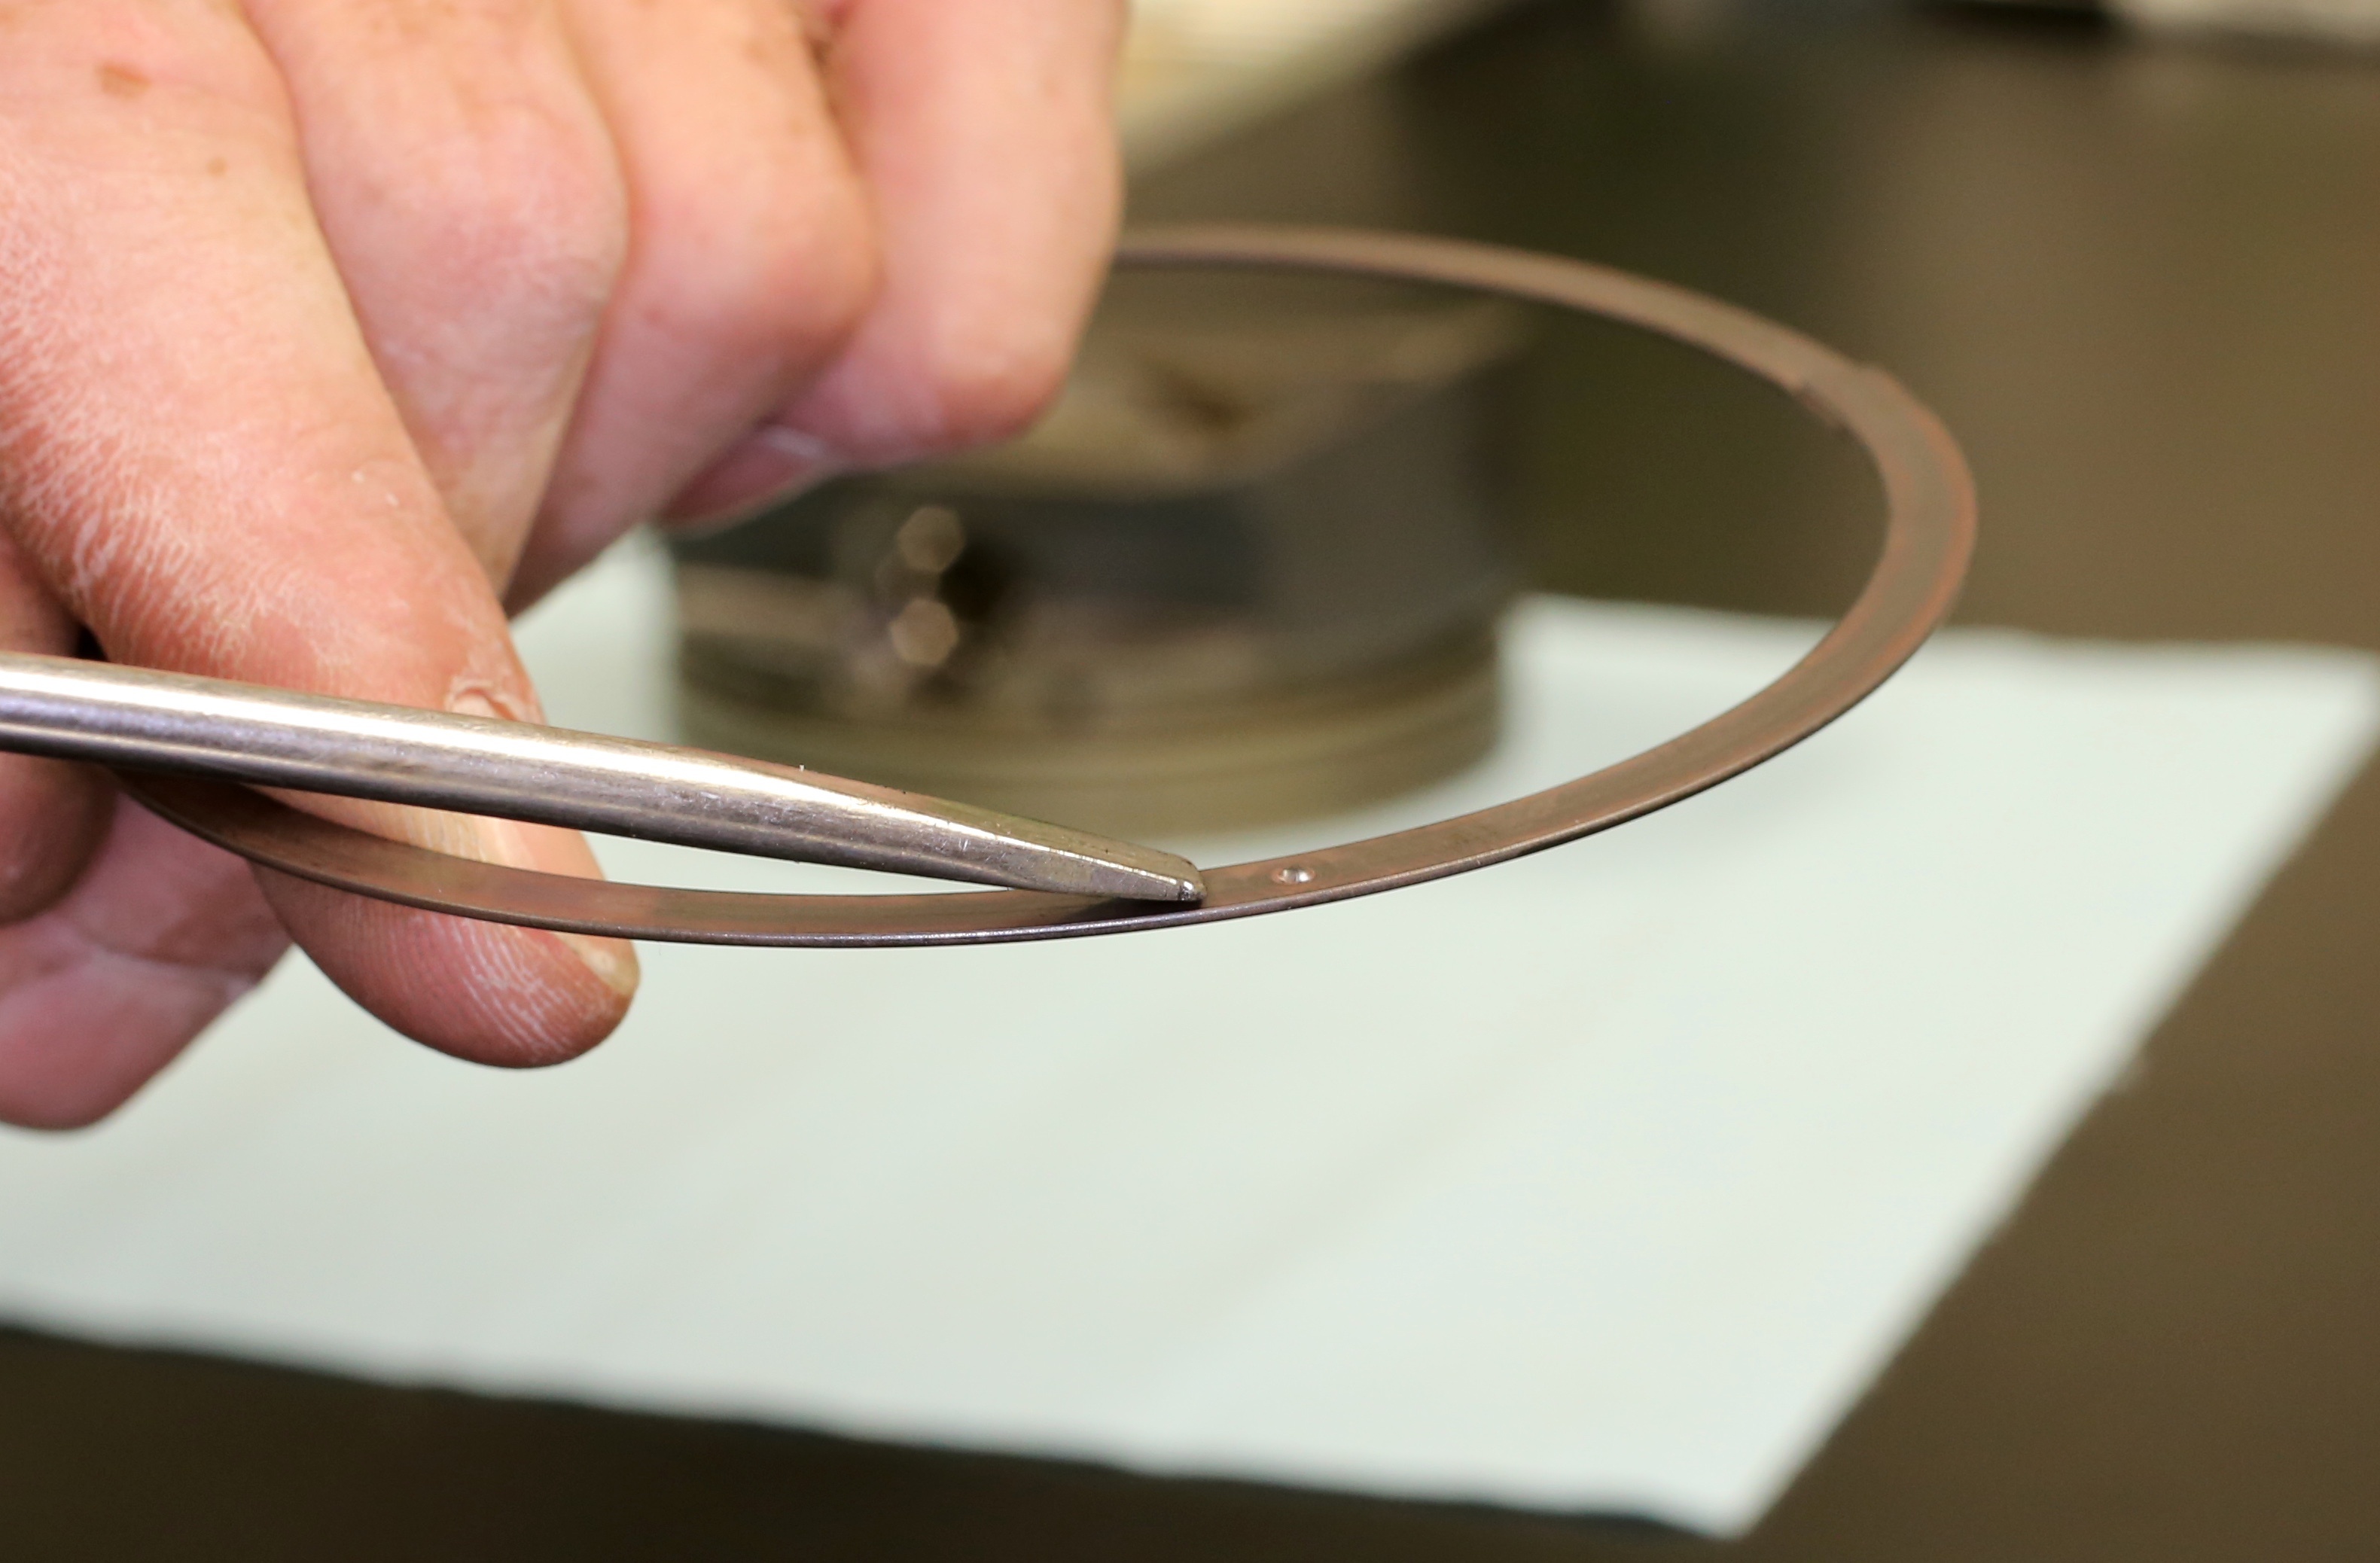
Some mechanics have developed hands-only installation techniques whereby one ring end is started in the groove, then the ring is spiraled around the piston and into its groove.
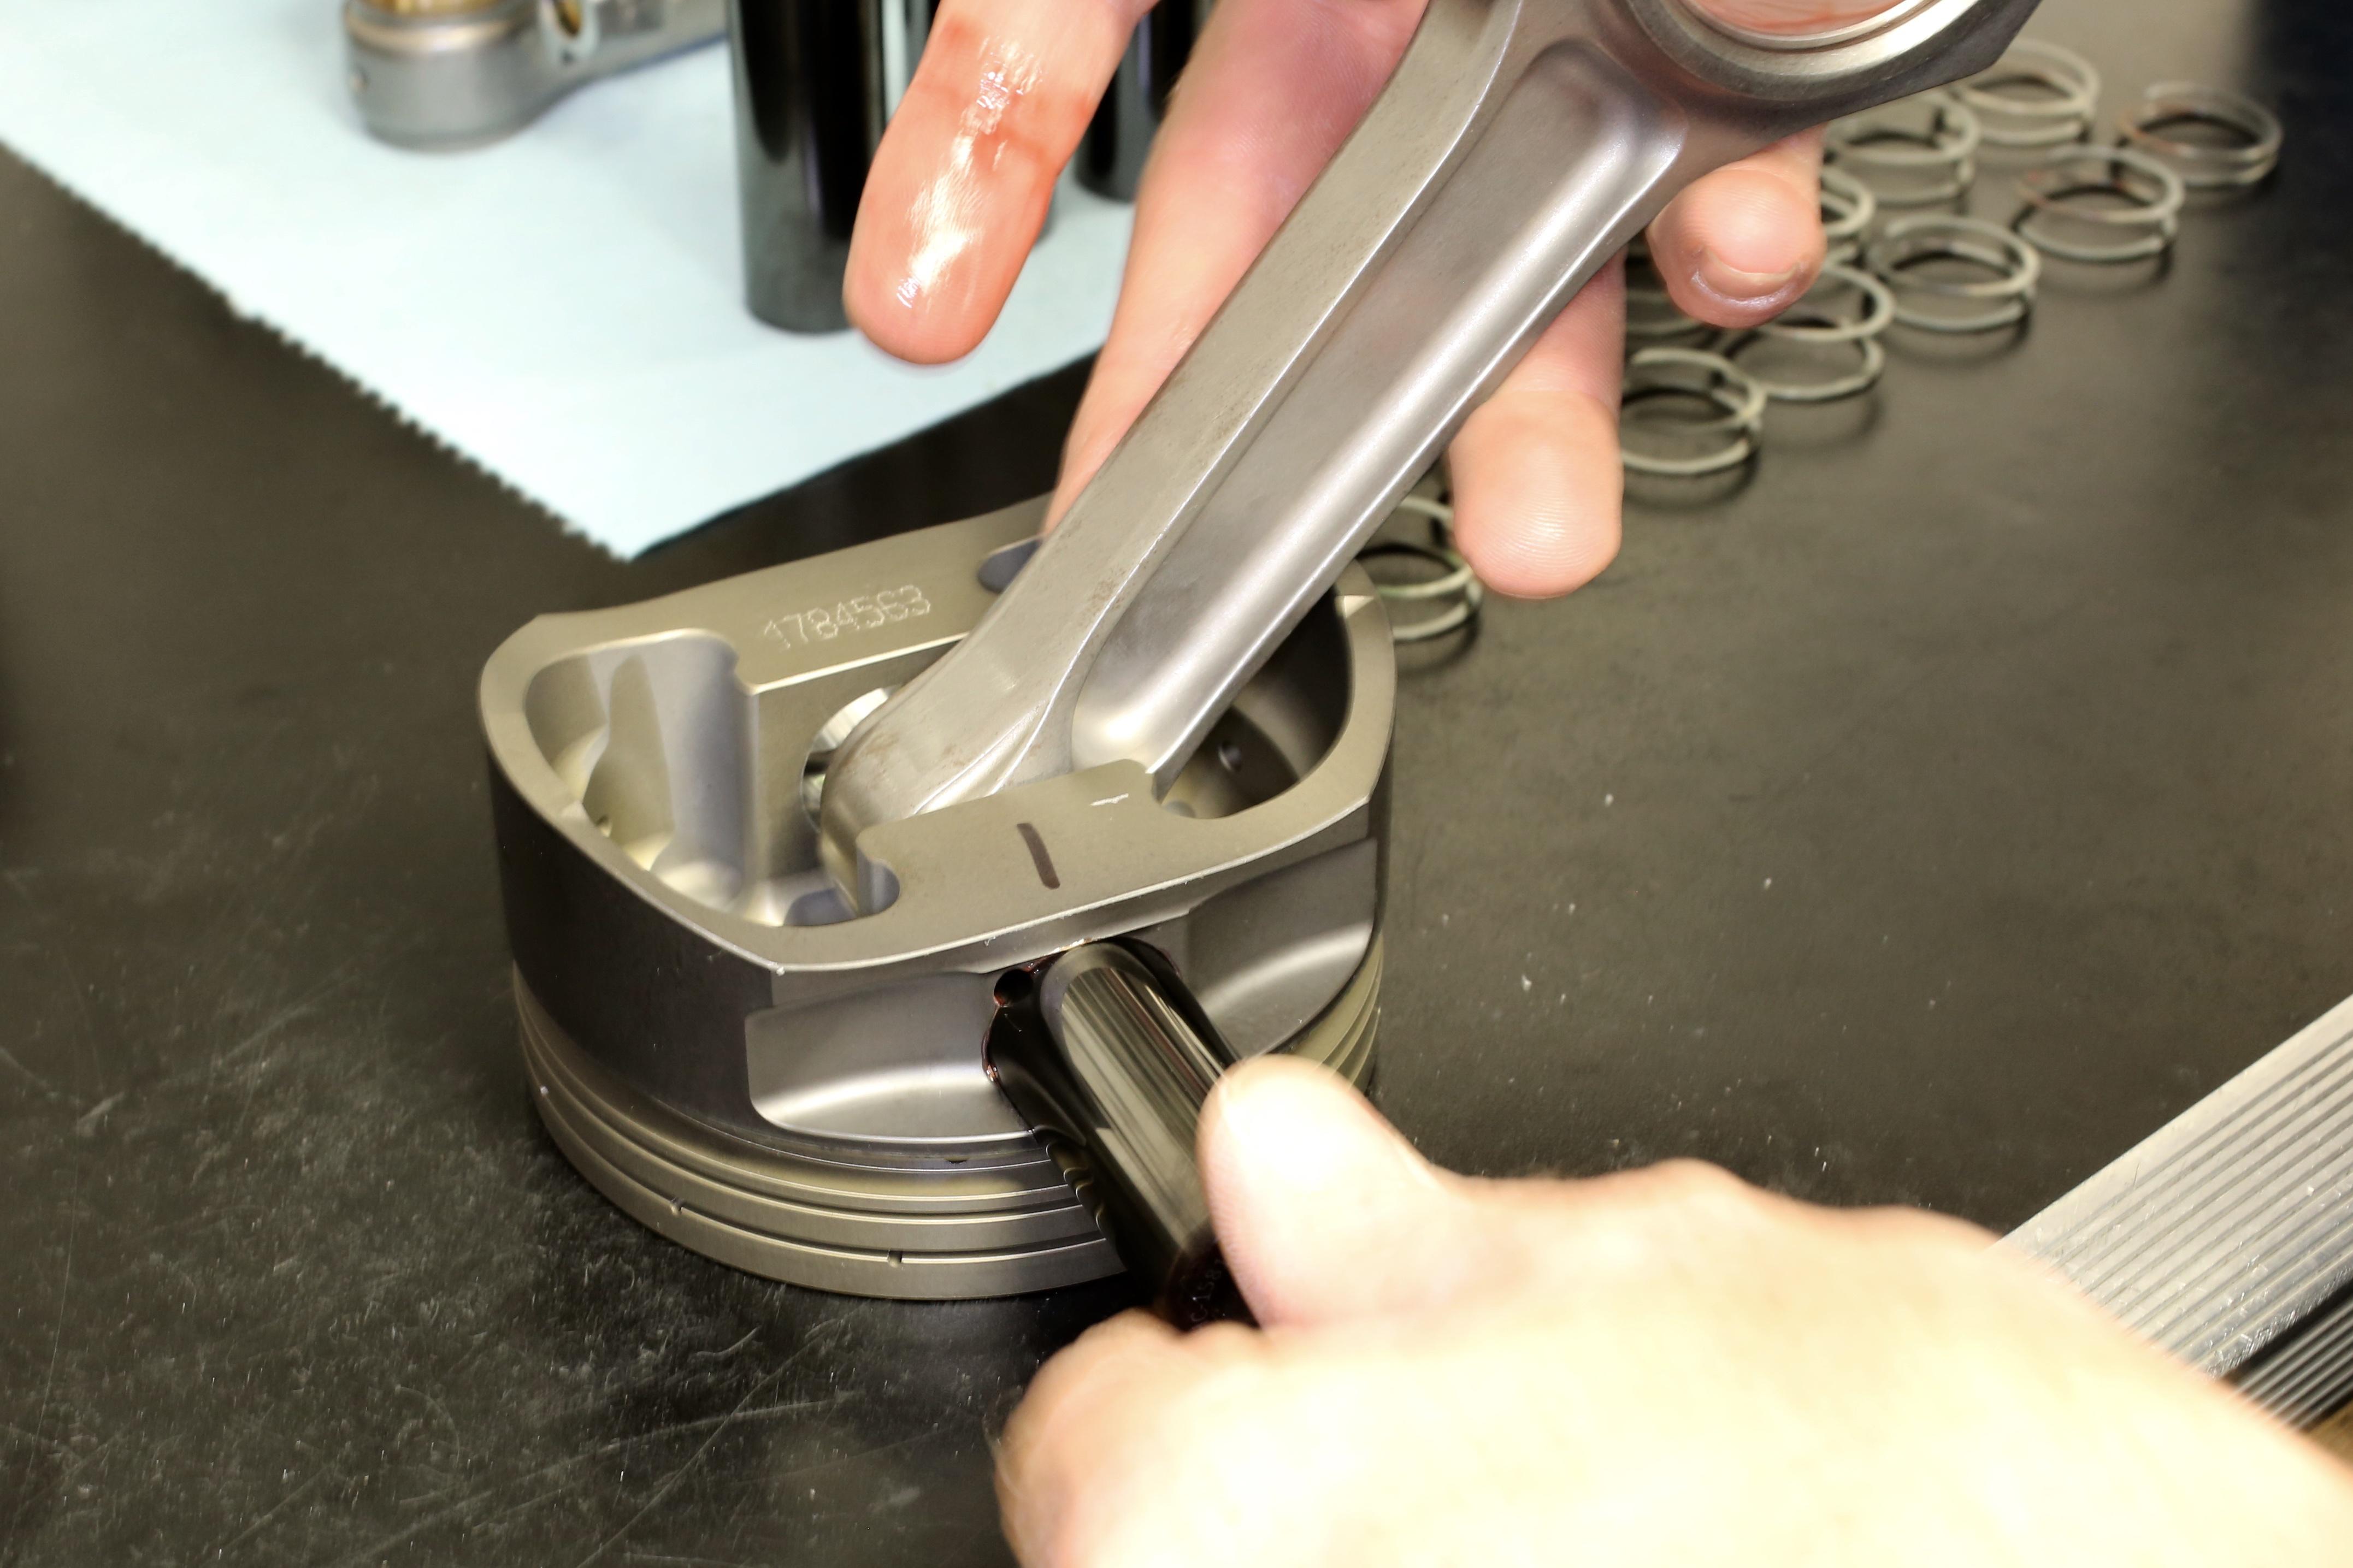
While the spiraling method is viable, modern, thin rings are far more susceptible to bending and require extra care to prevent that. Ring expanding pliers work very well but take care not to over-expand the rings. It’s also crucial that the rings be installed right side up, especially rings with an inside bevel. Most top compression rings have a dot on the surface that indicates the side that should face upward when installed. A ring that is installed upside down will lead to excessive oil consumption.
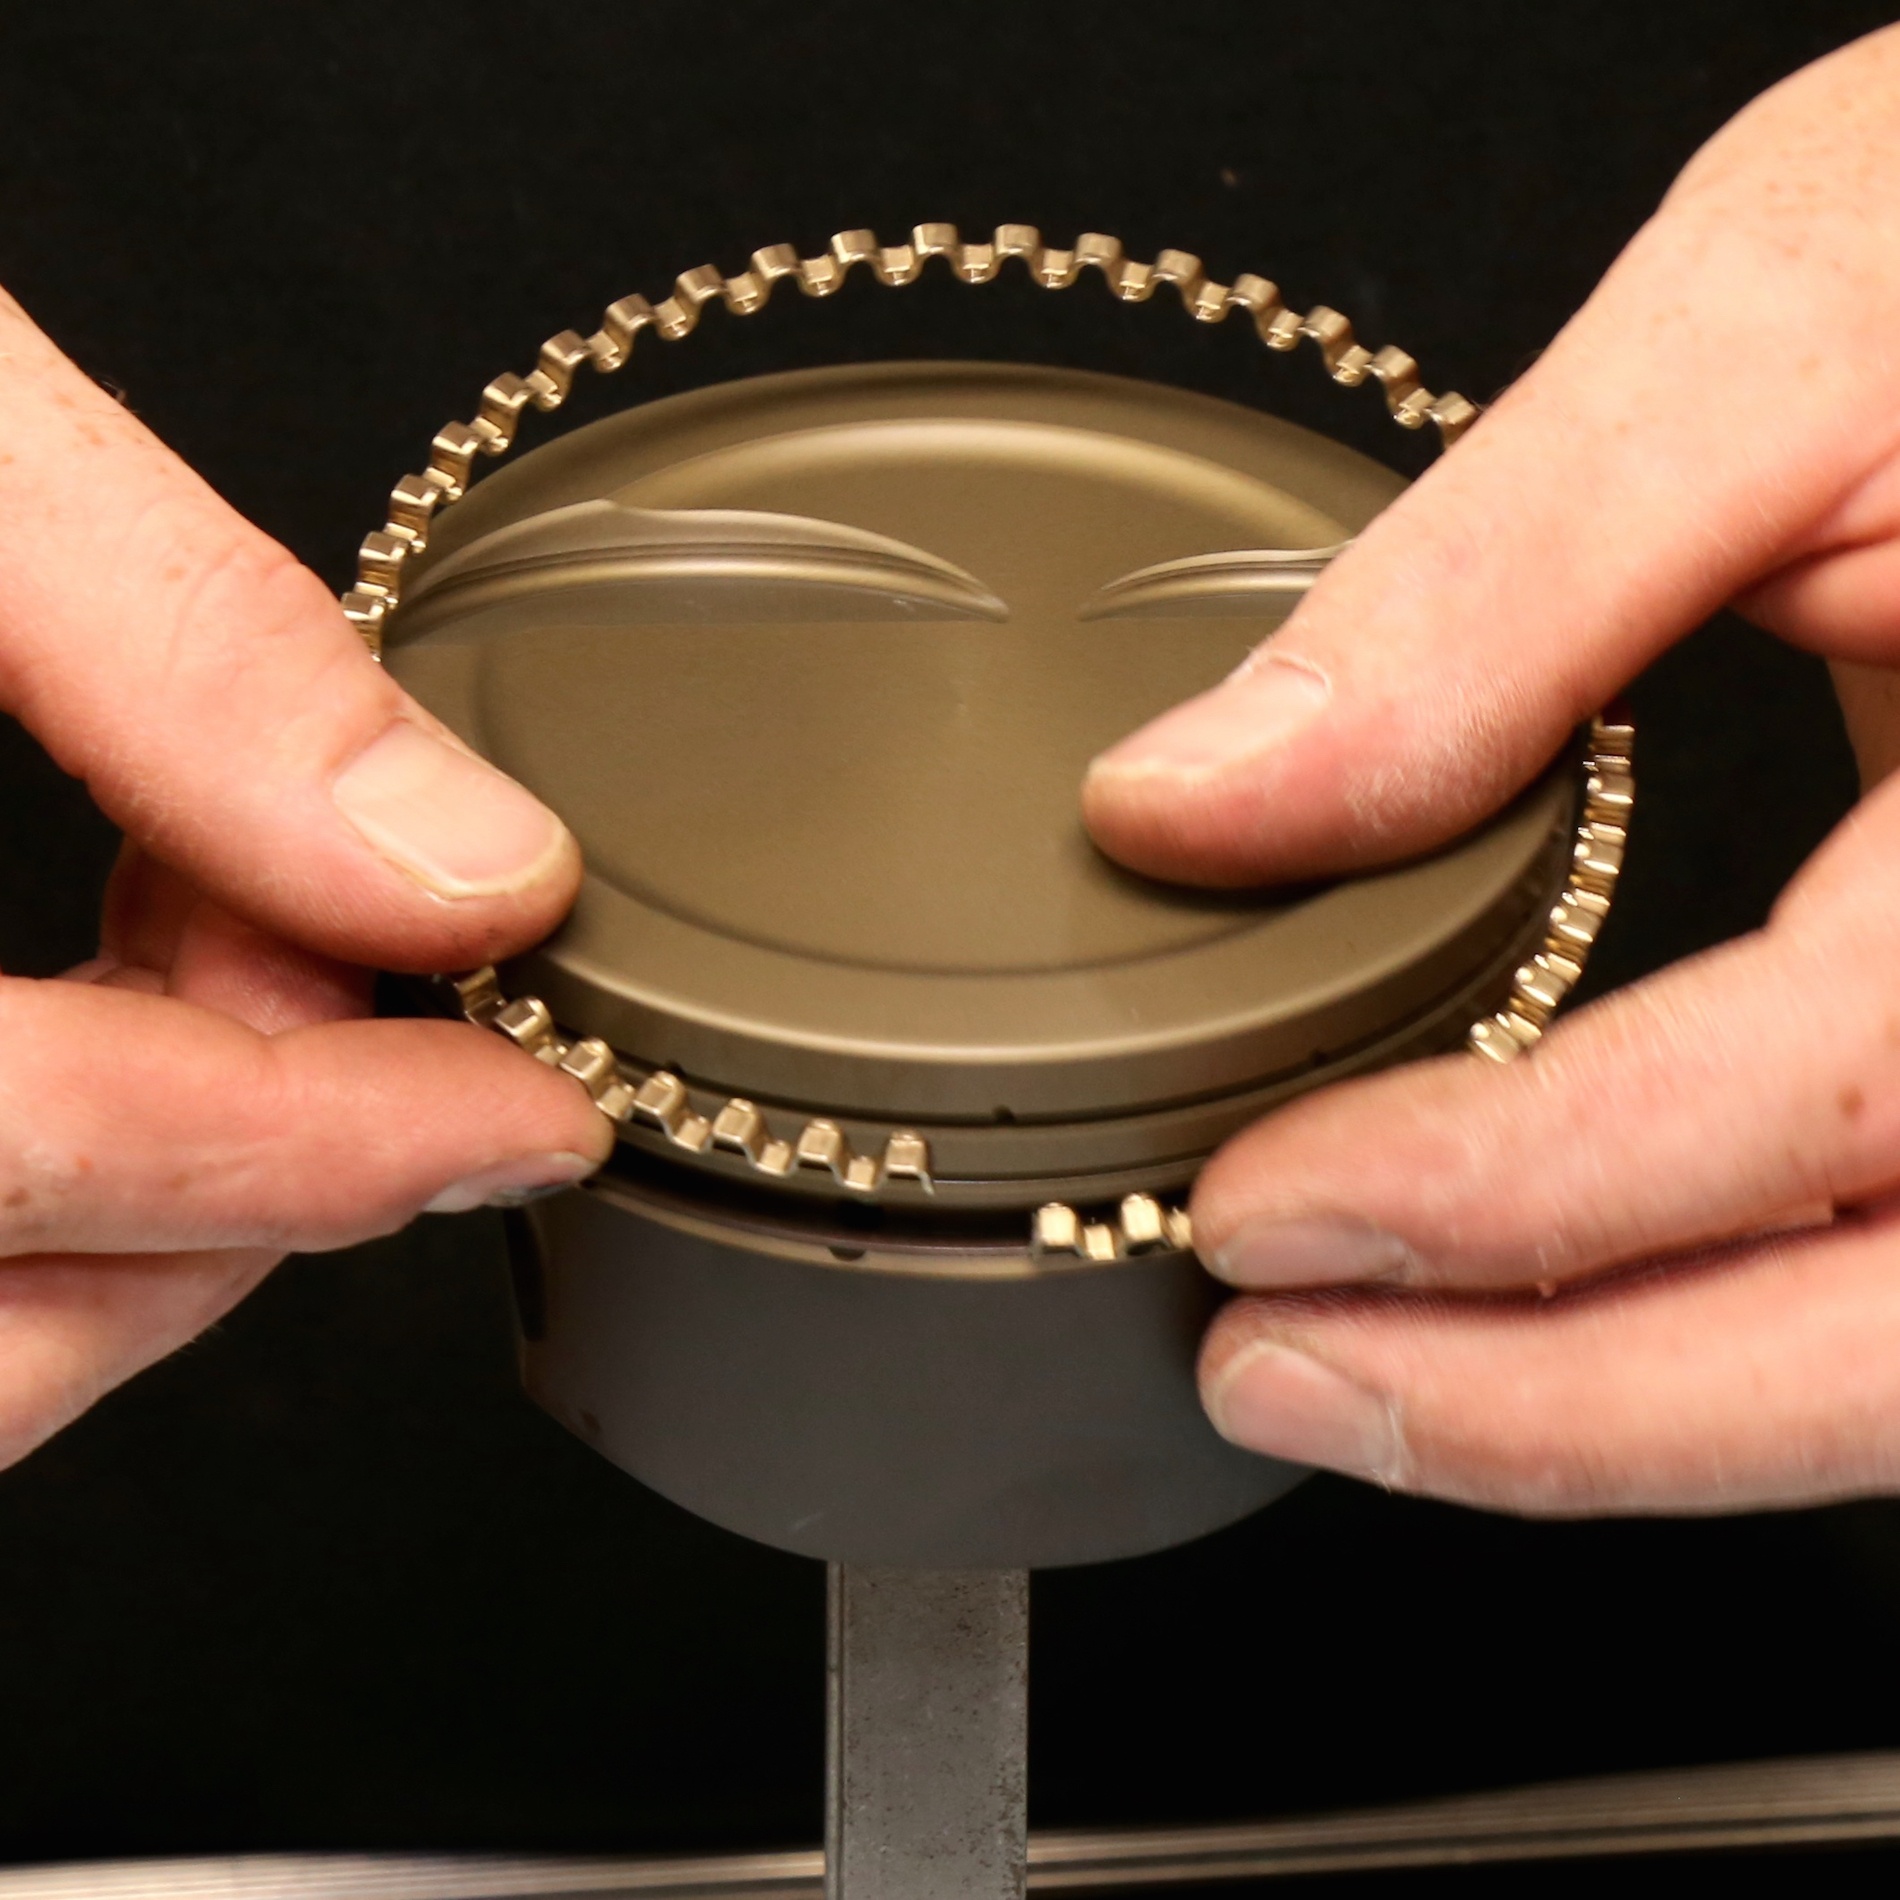
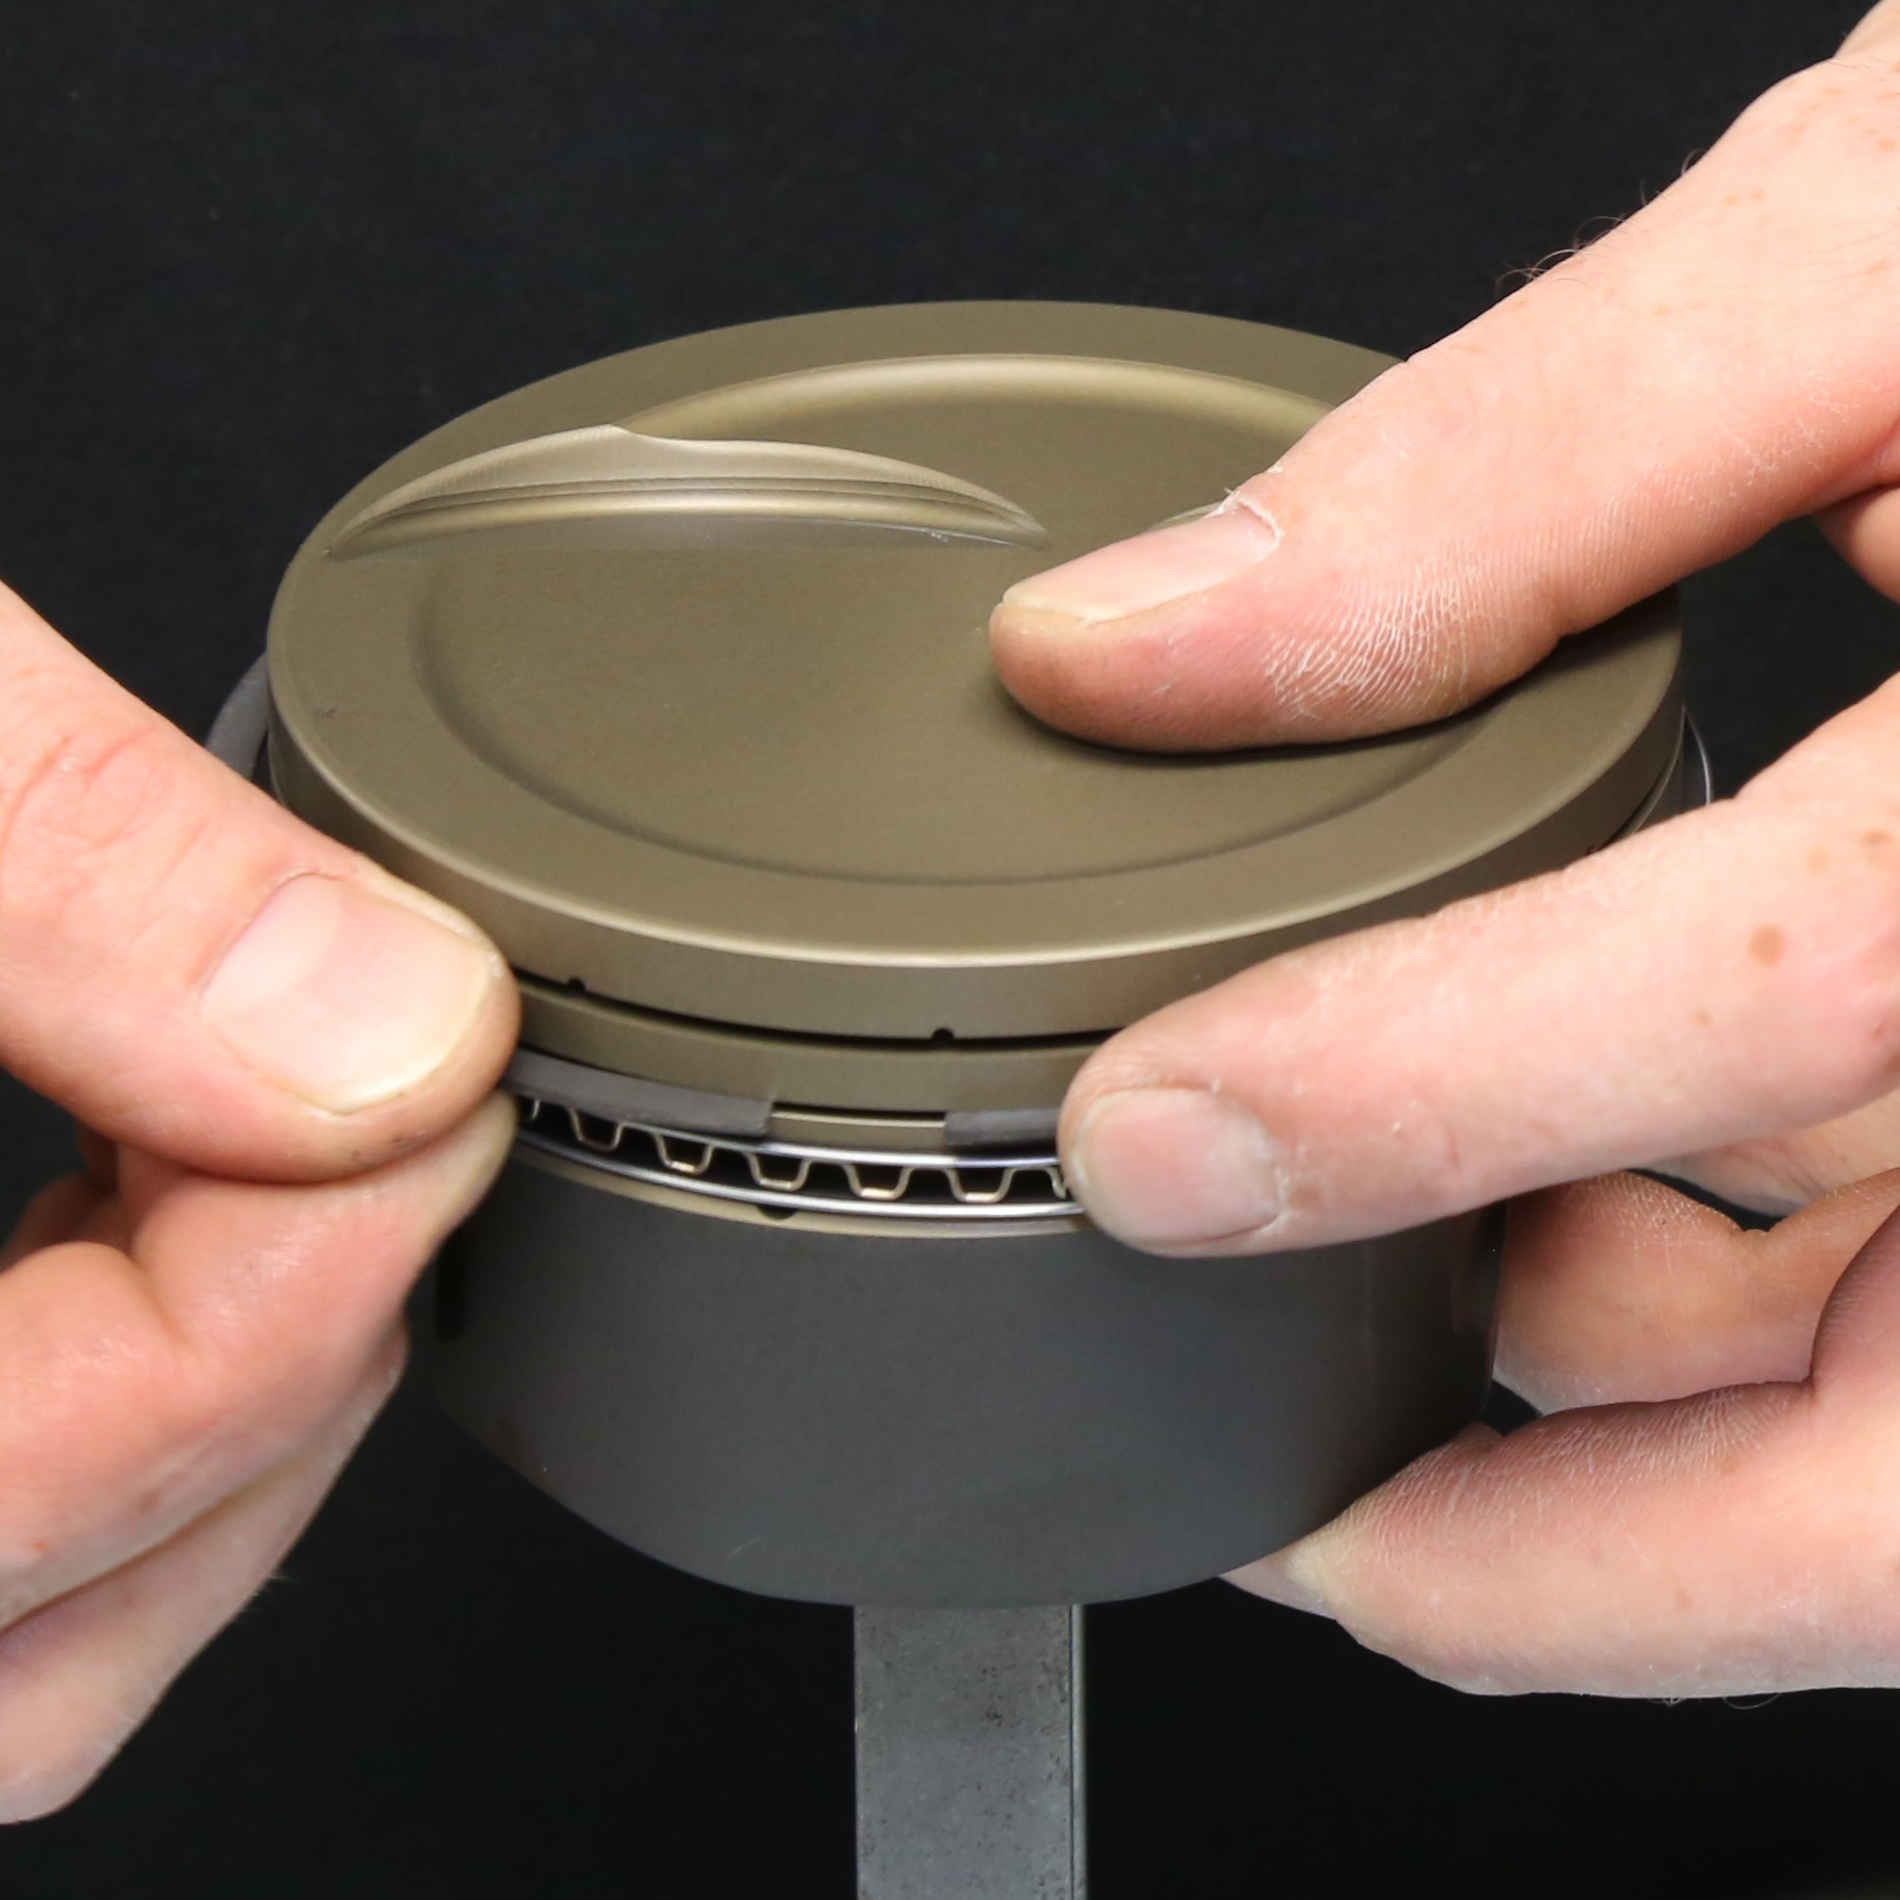
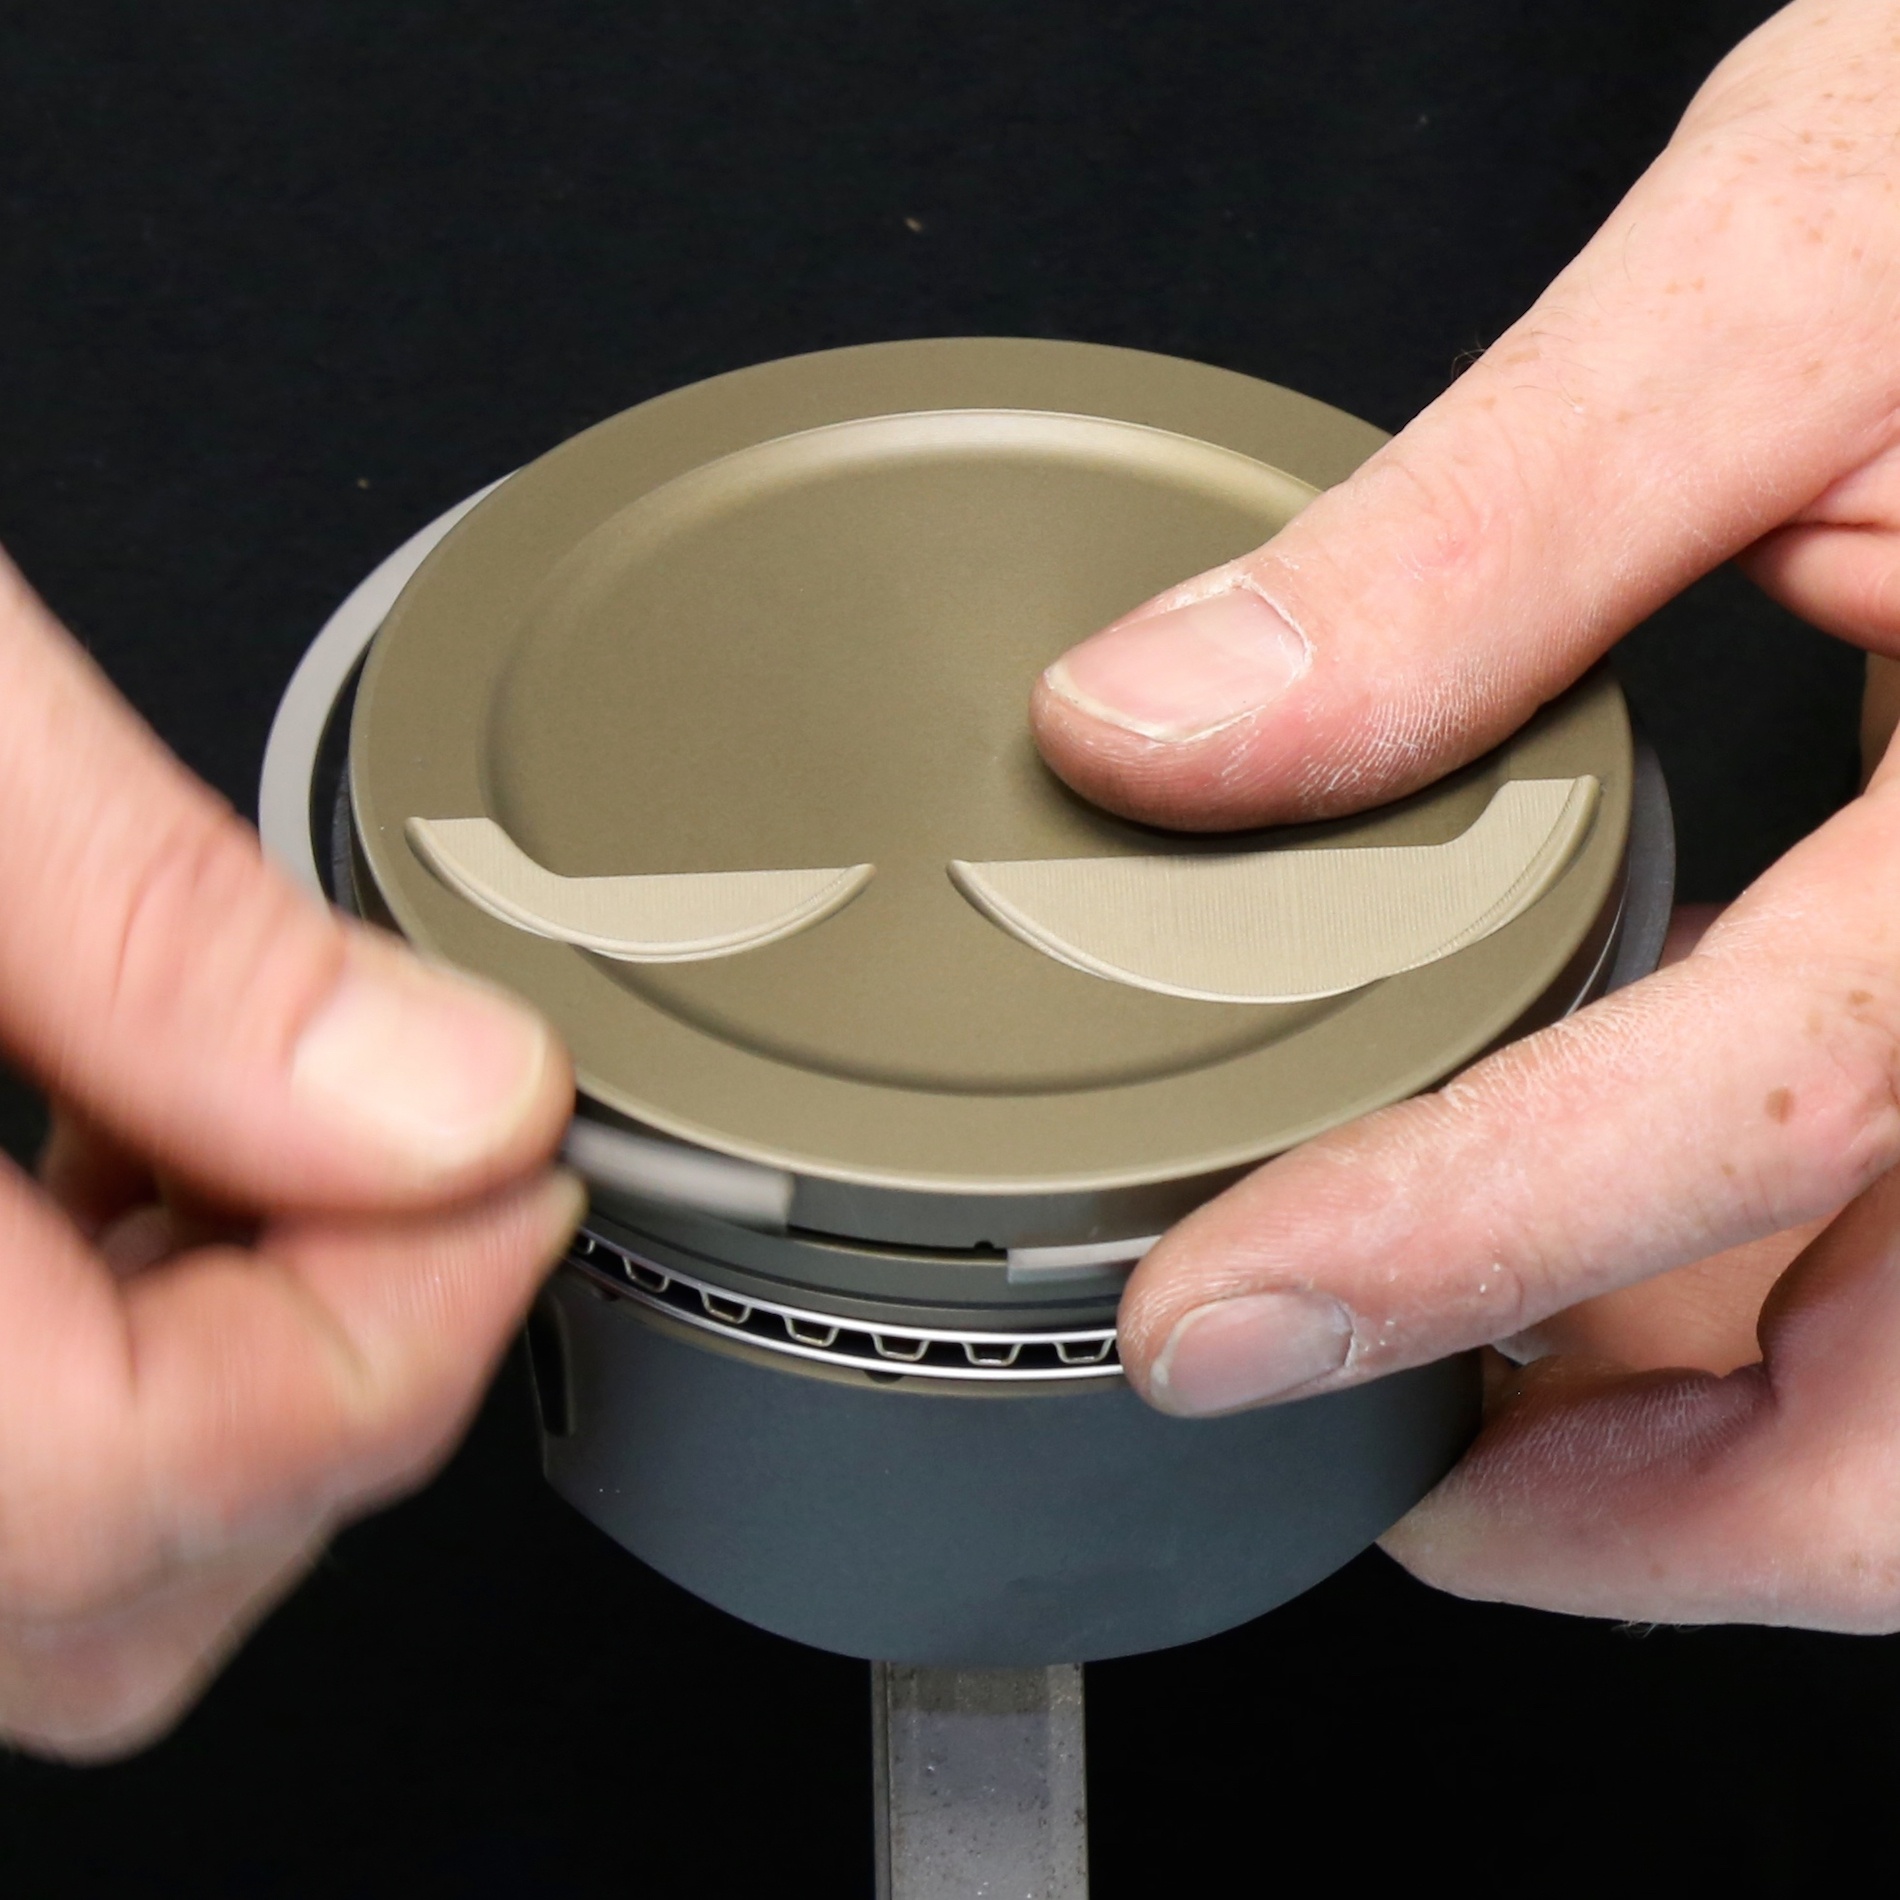
Finally, after all the rings are installed, rotate them around to ensure that they move freely within the grooves. Then orient the ring gaps according to the instructions to improve ring seal. This usually means the gaps for the first and second rings are opposite each other and perpendicular to the pin bore. The gaps for the three oil rings spread apart evenly around the piston.
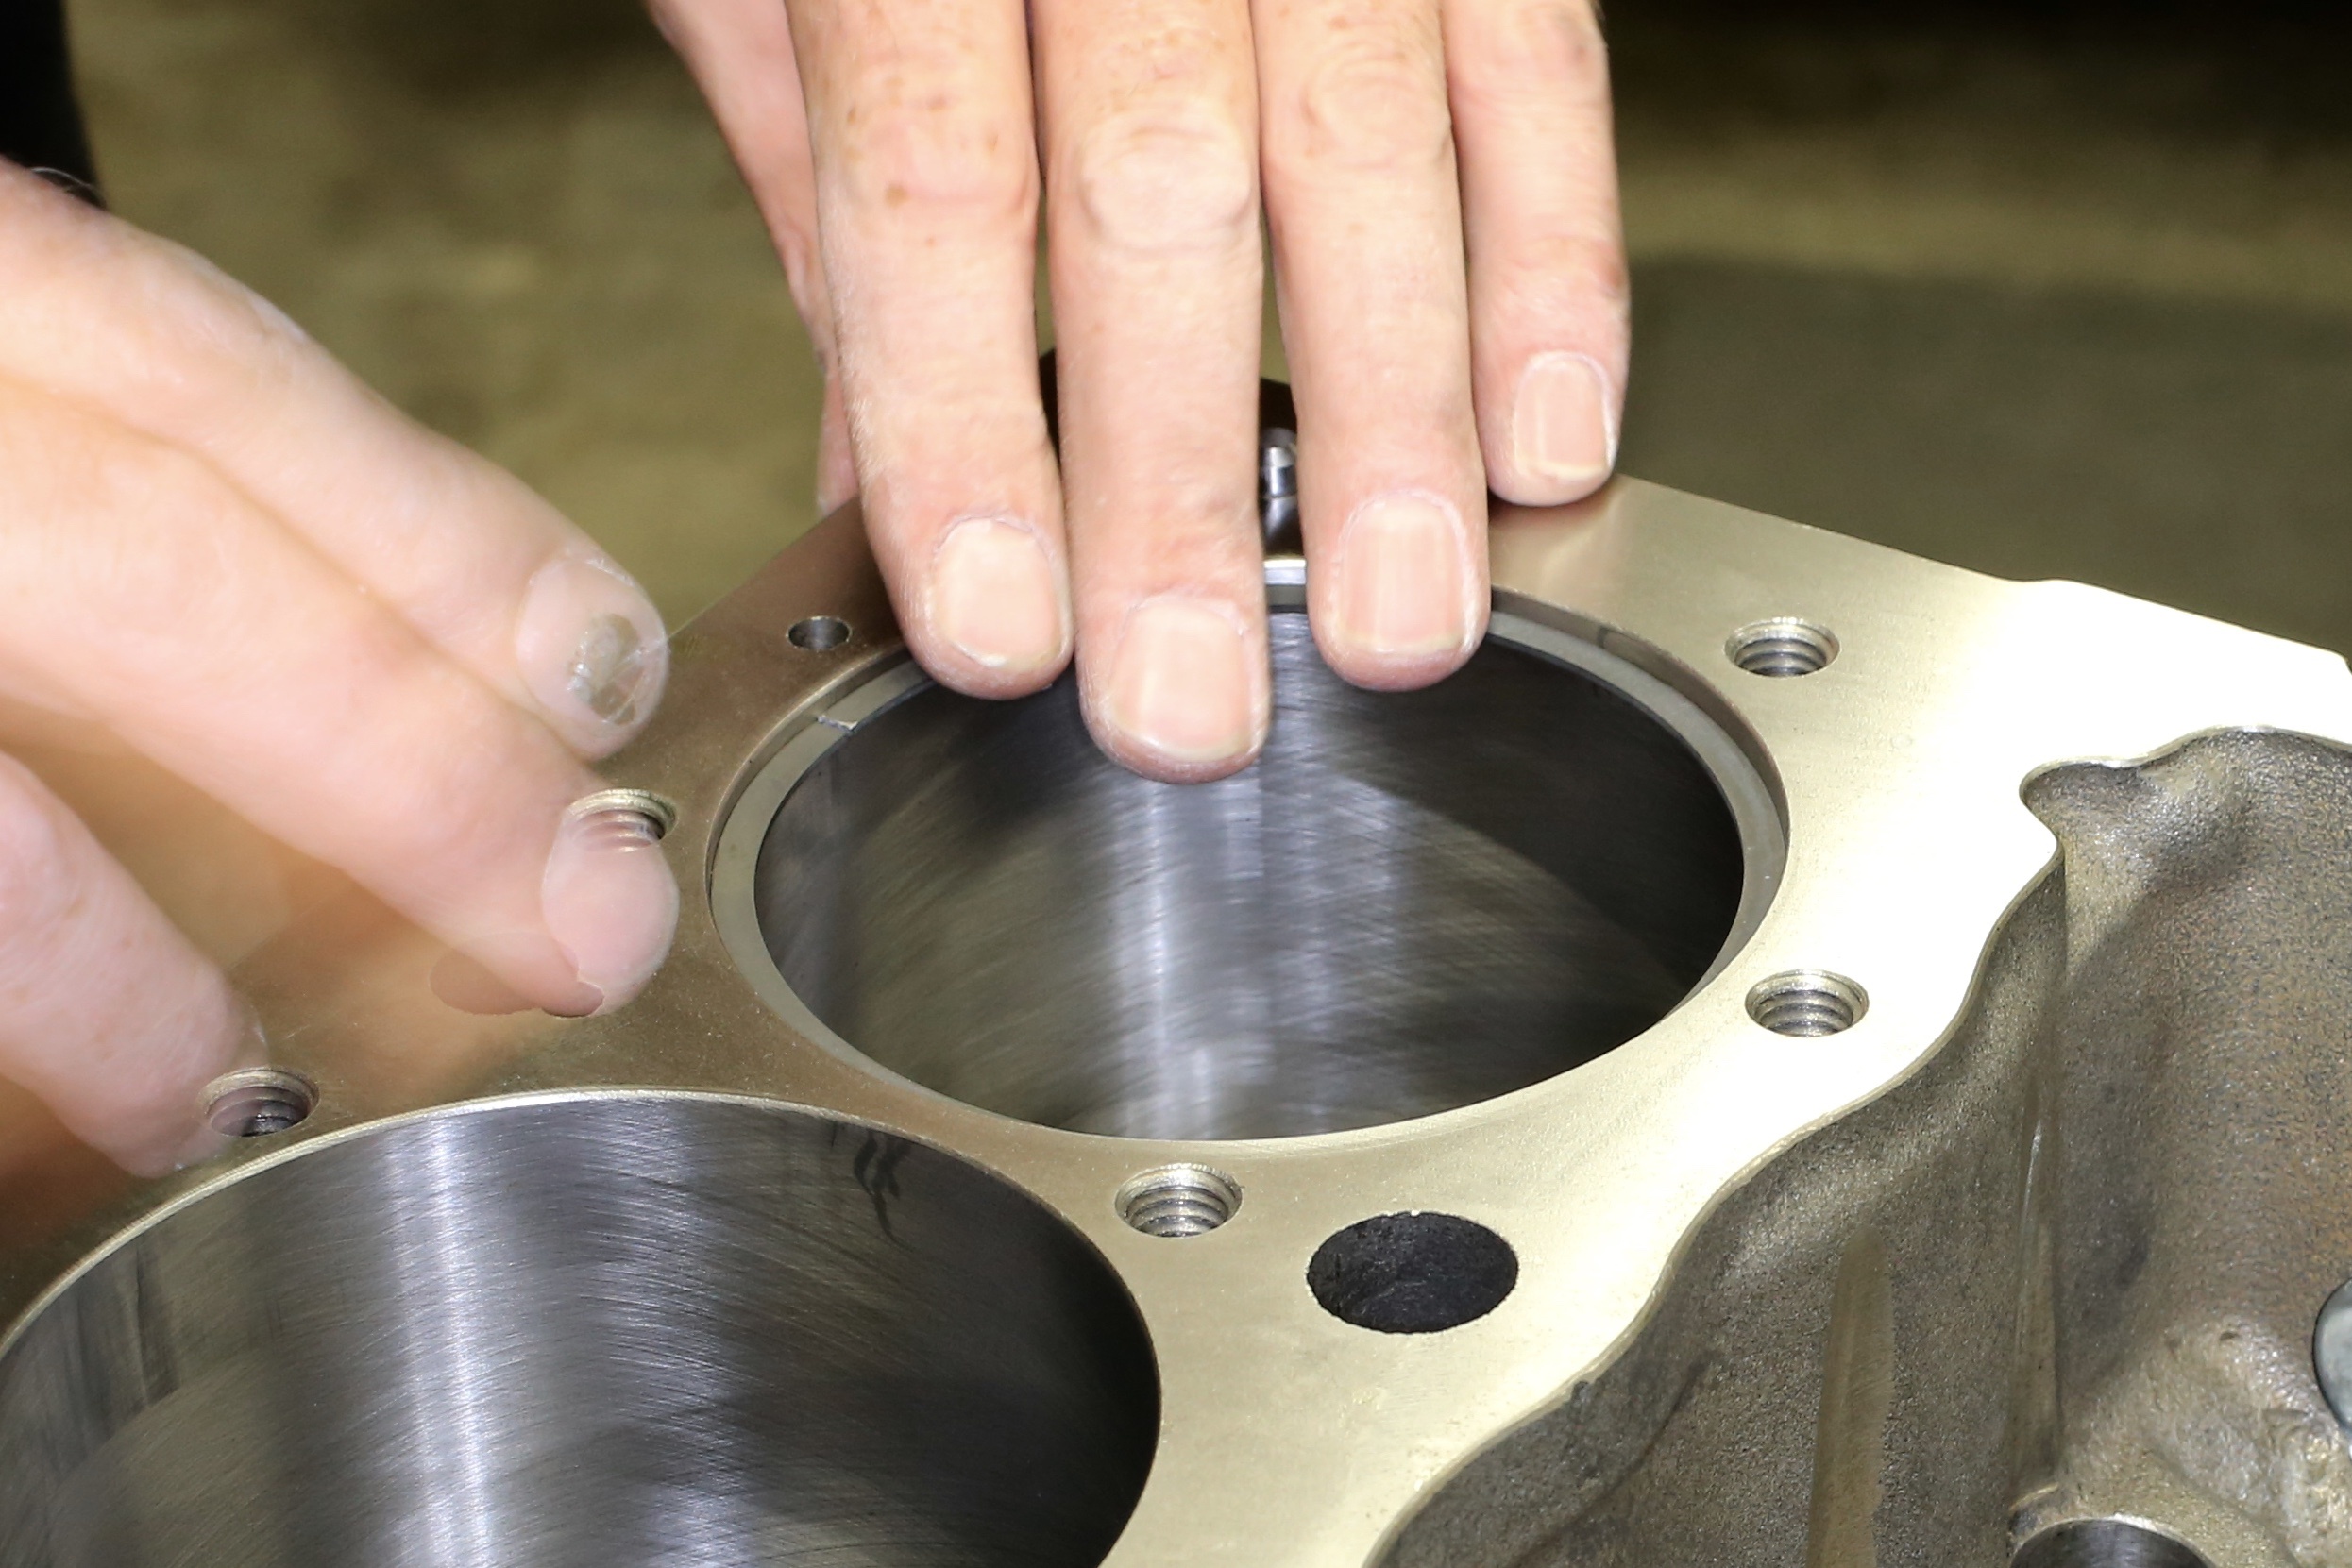
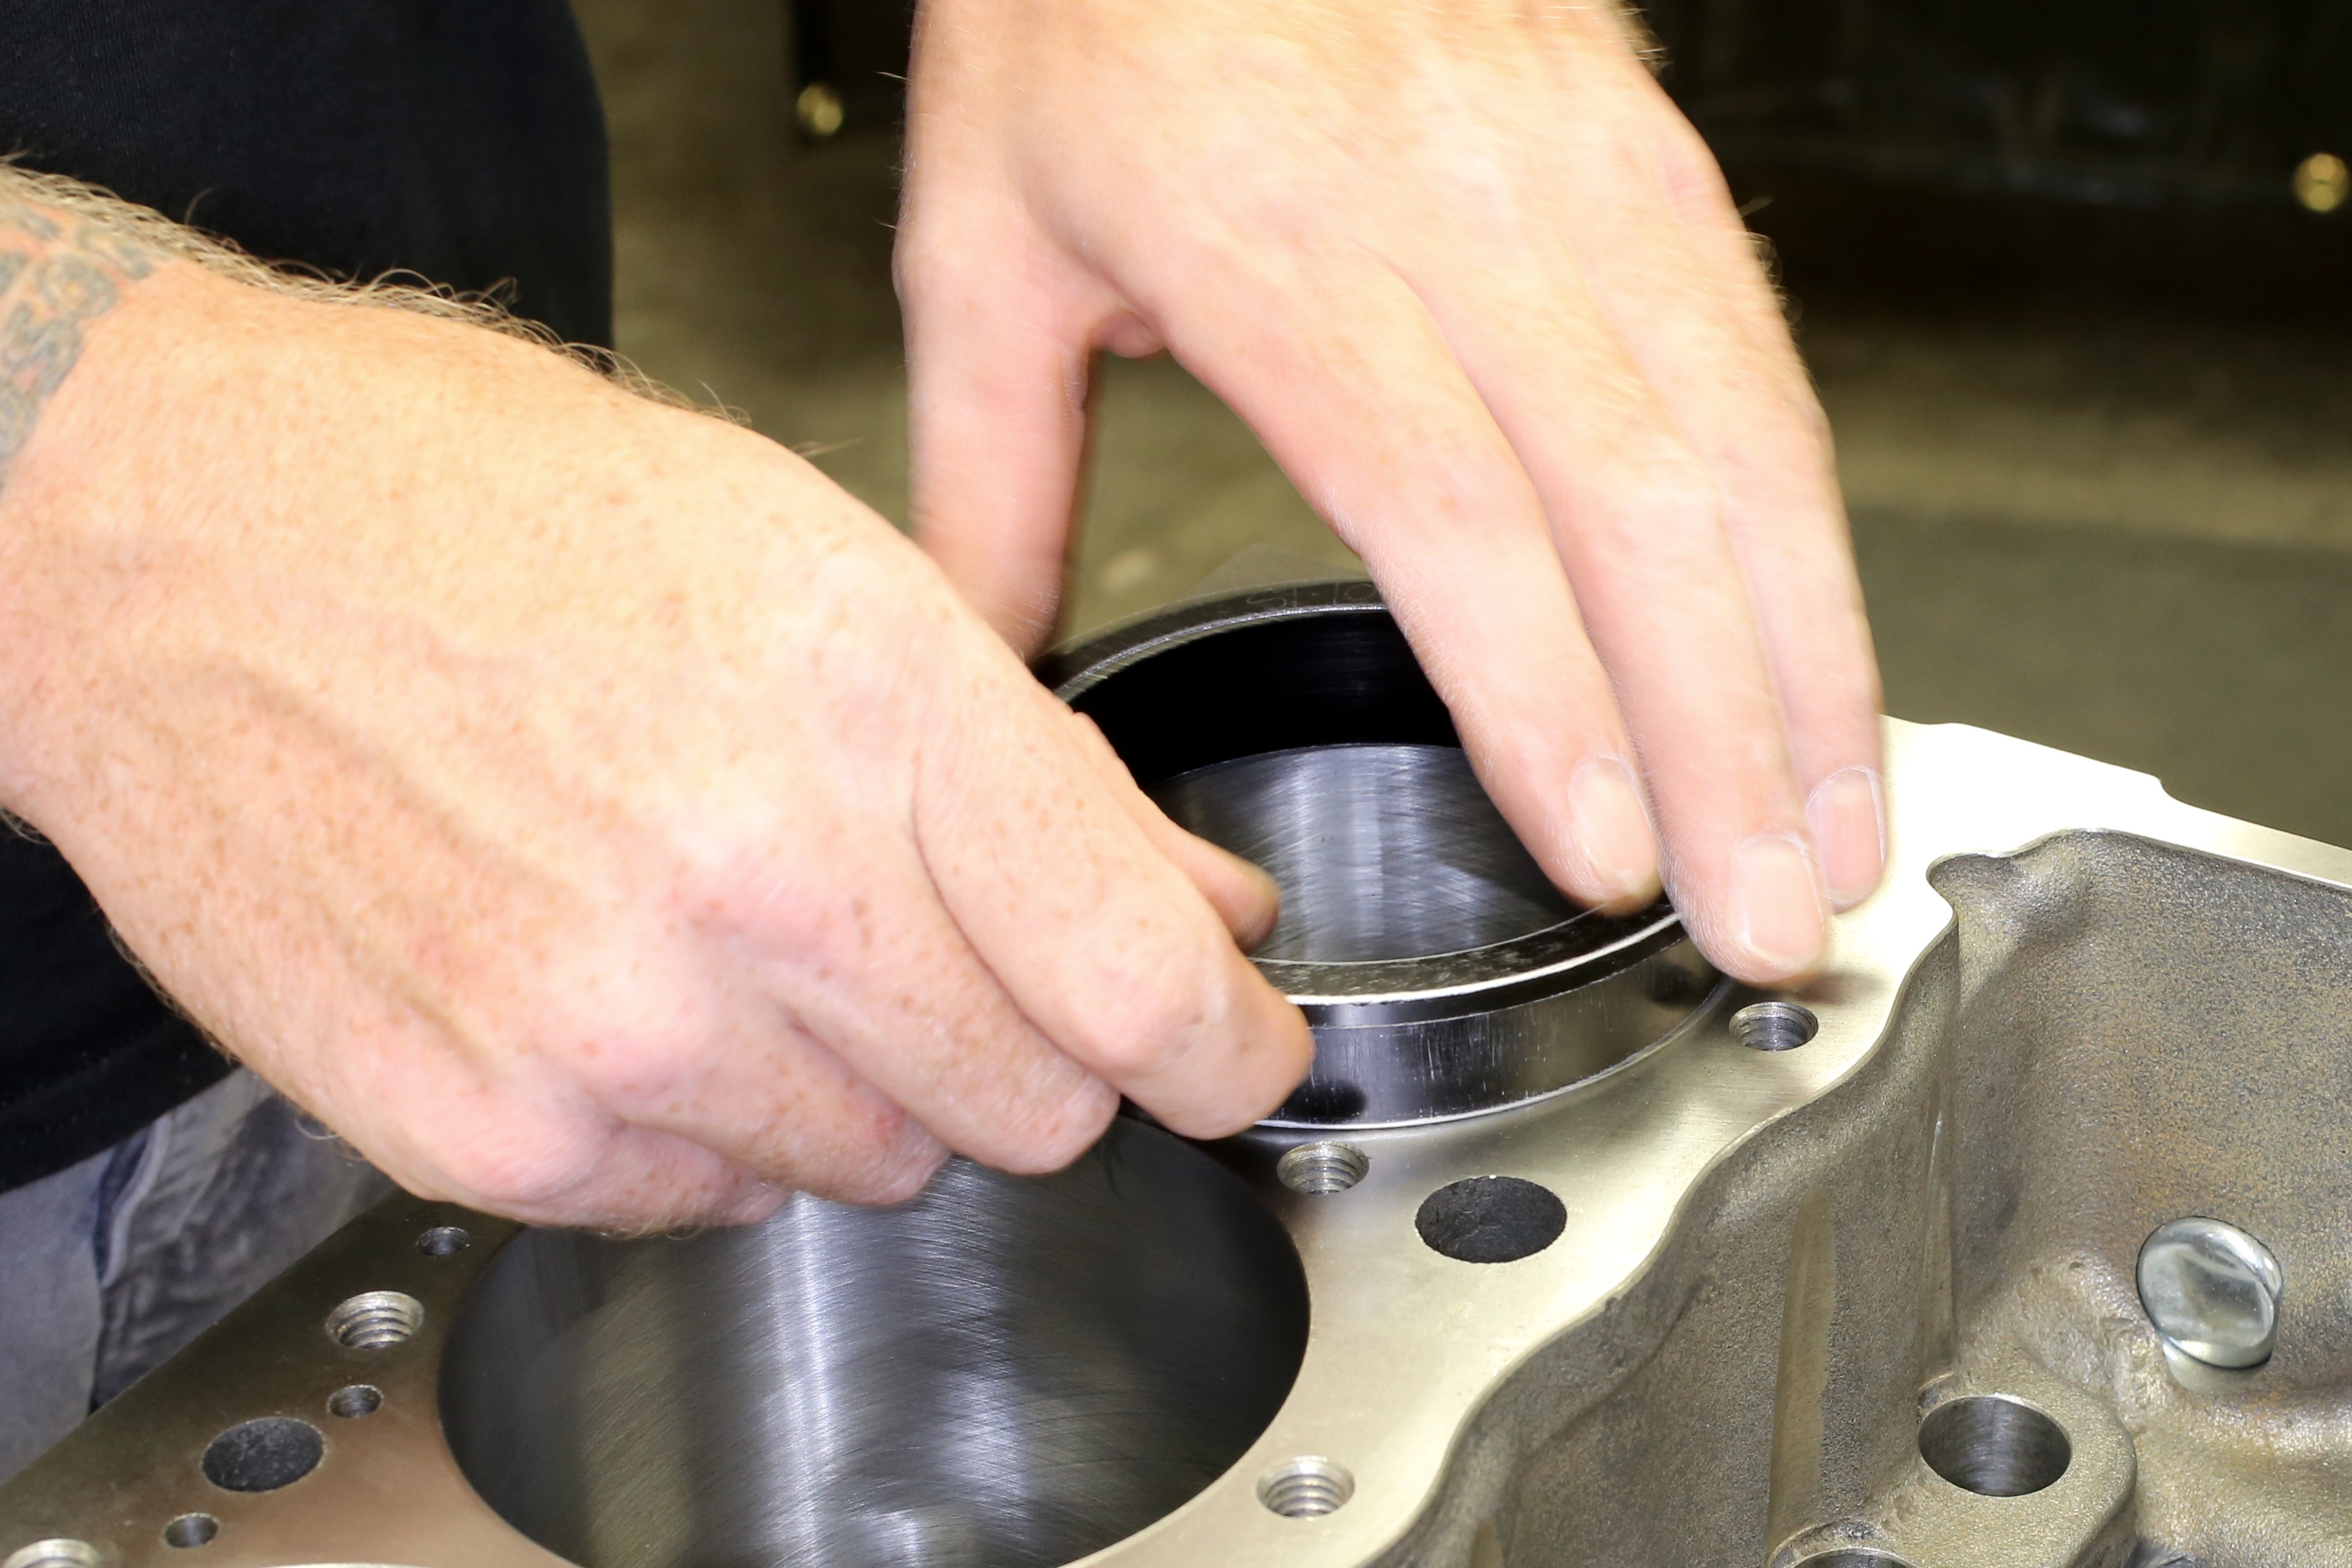
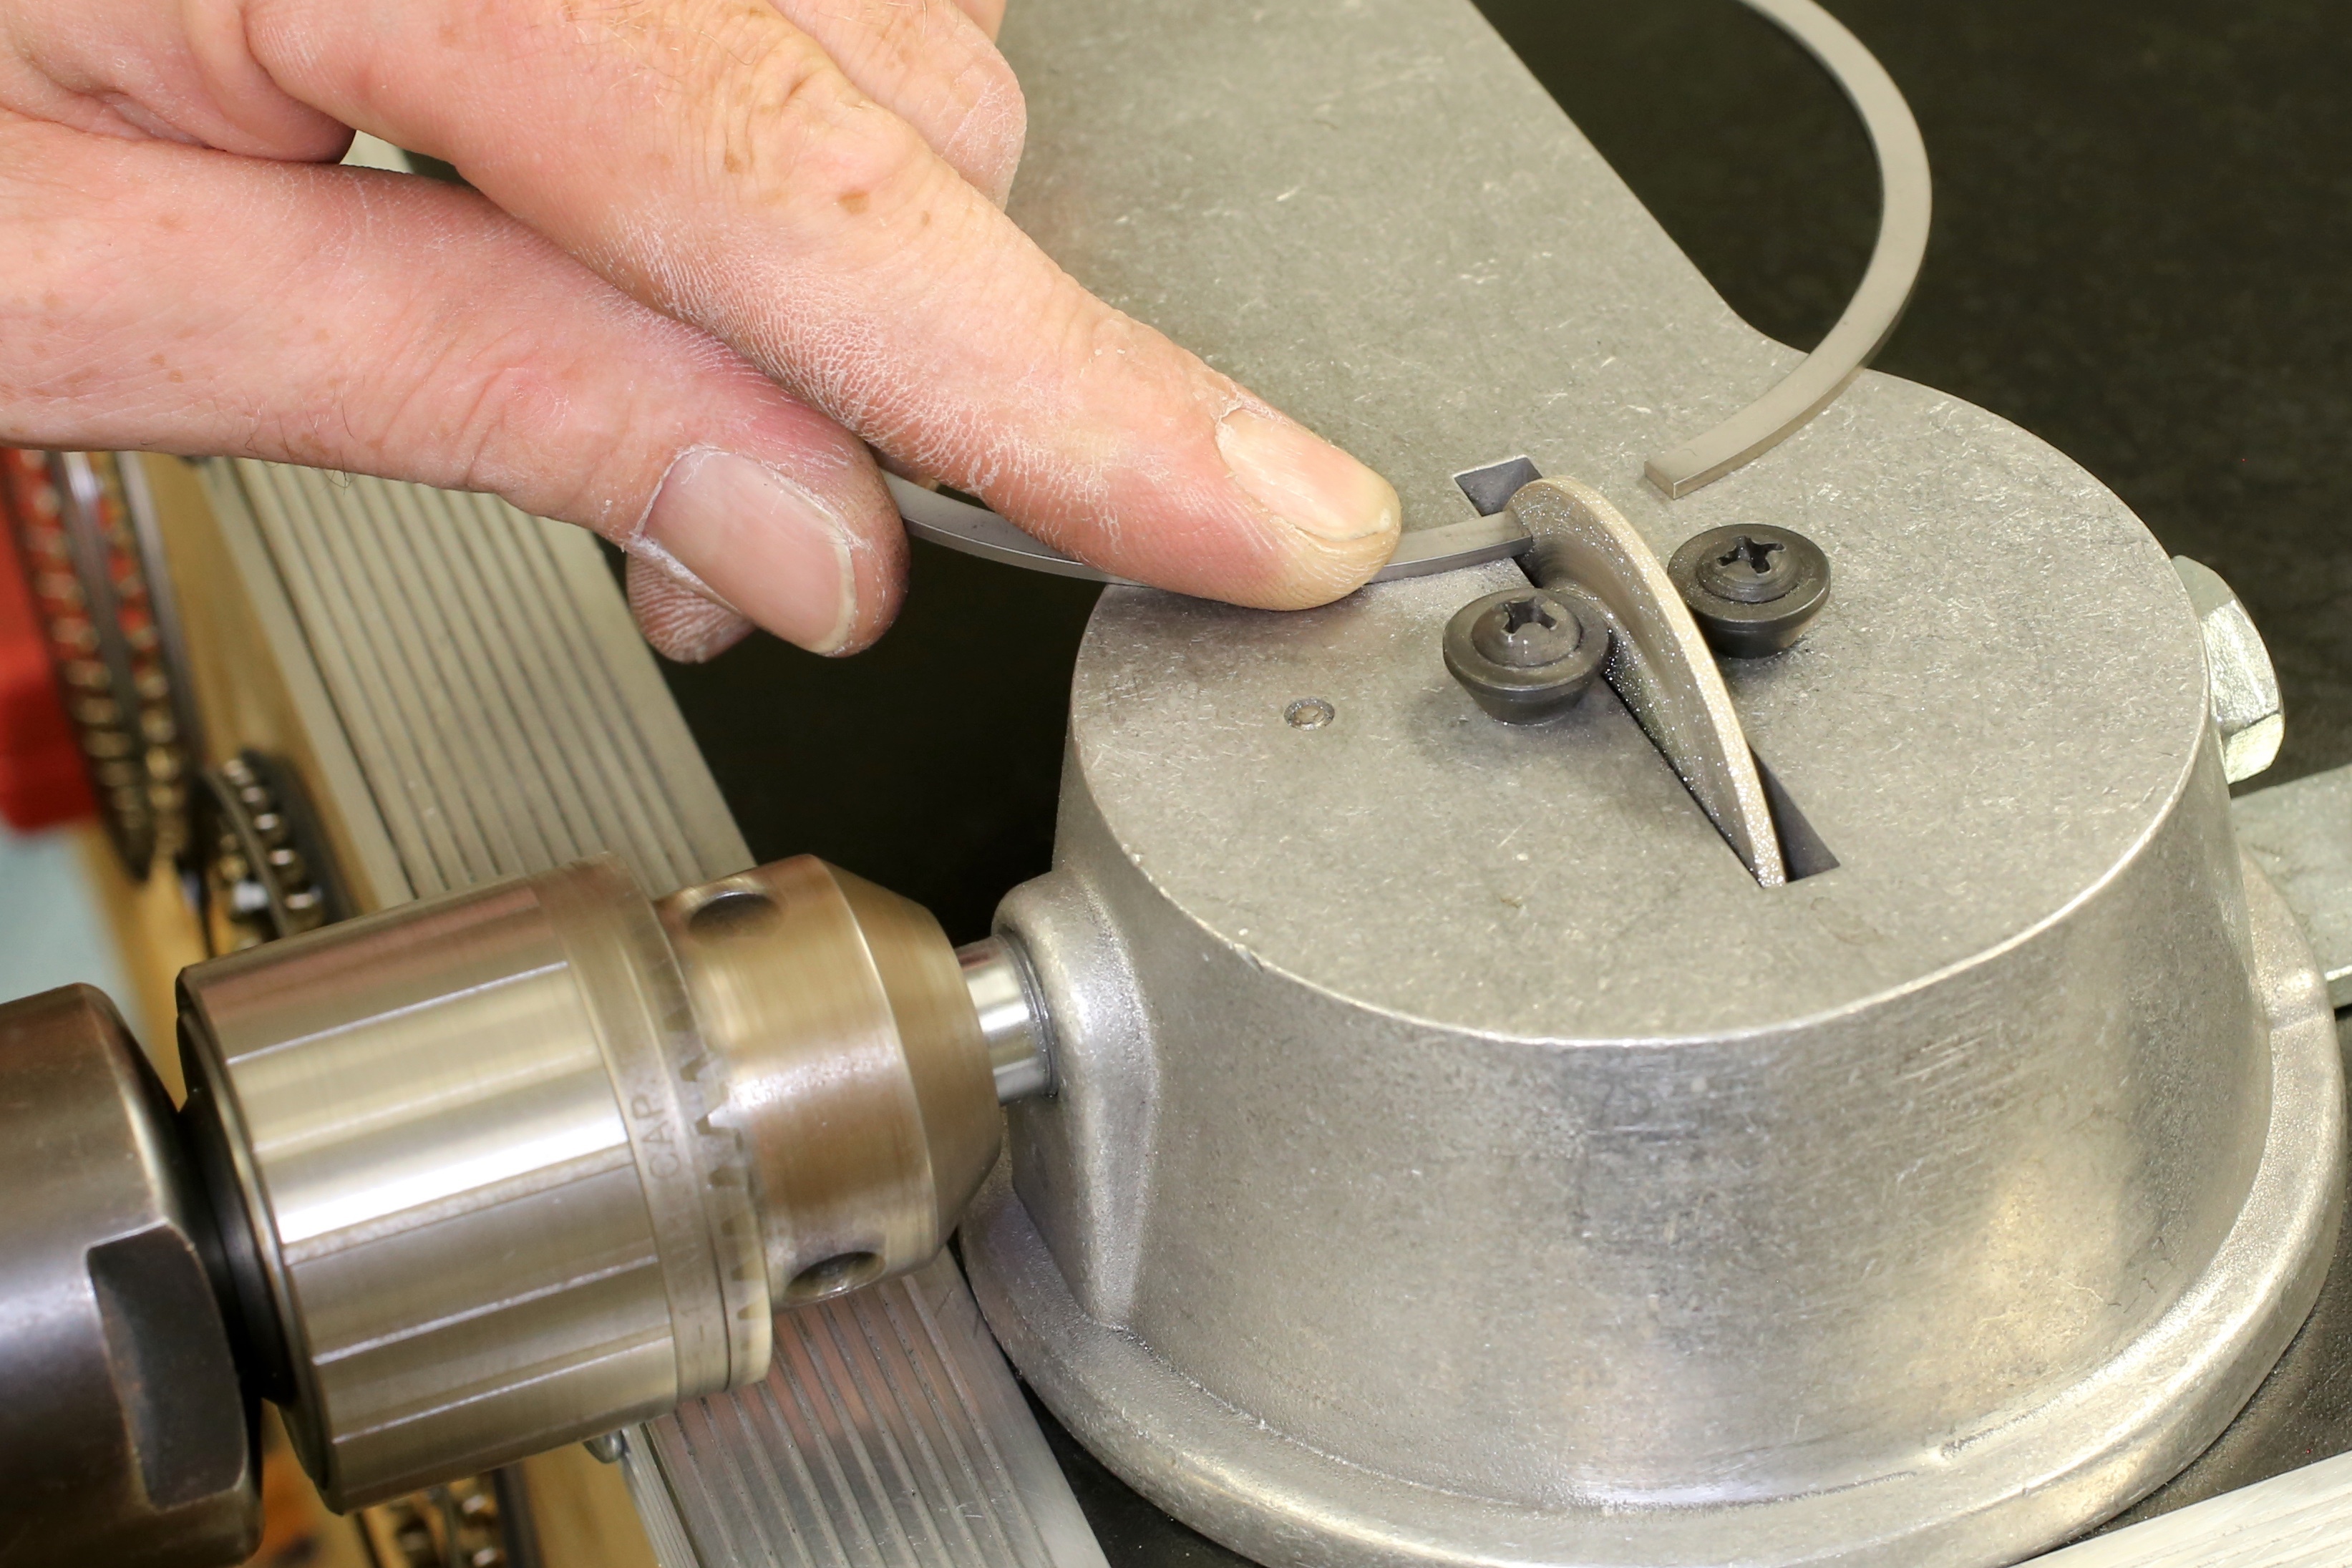
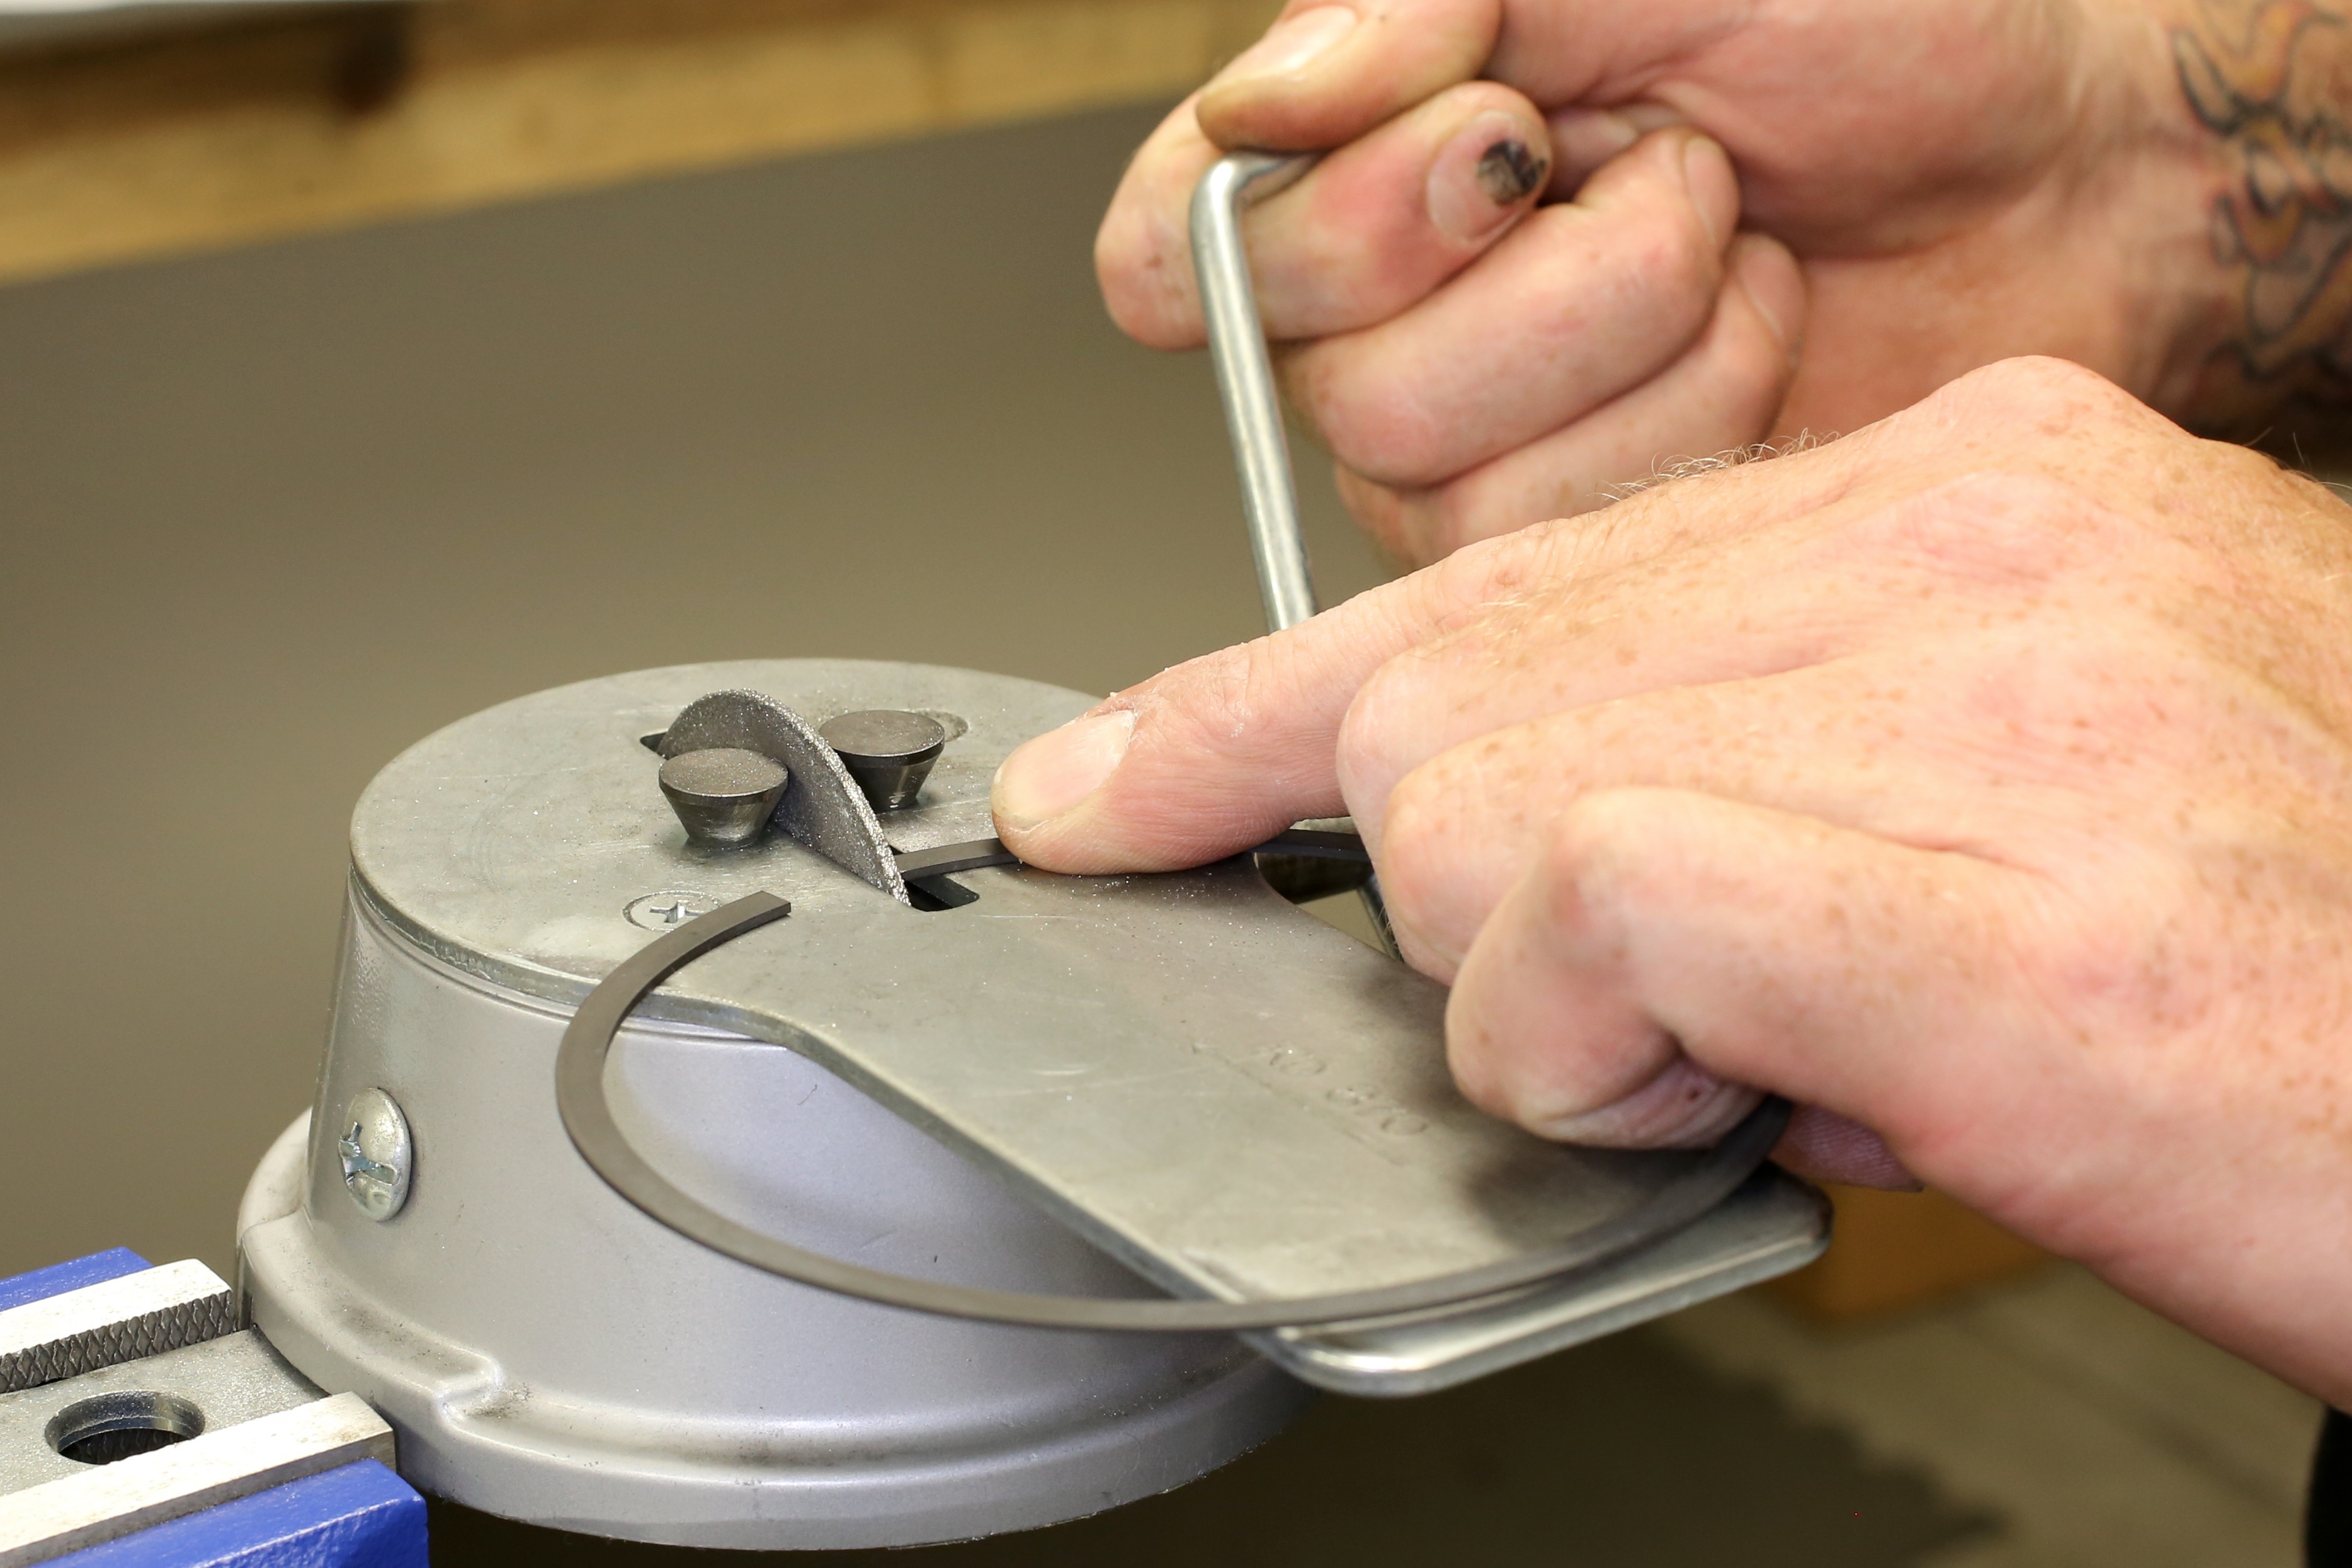
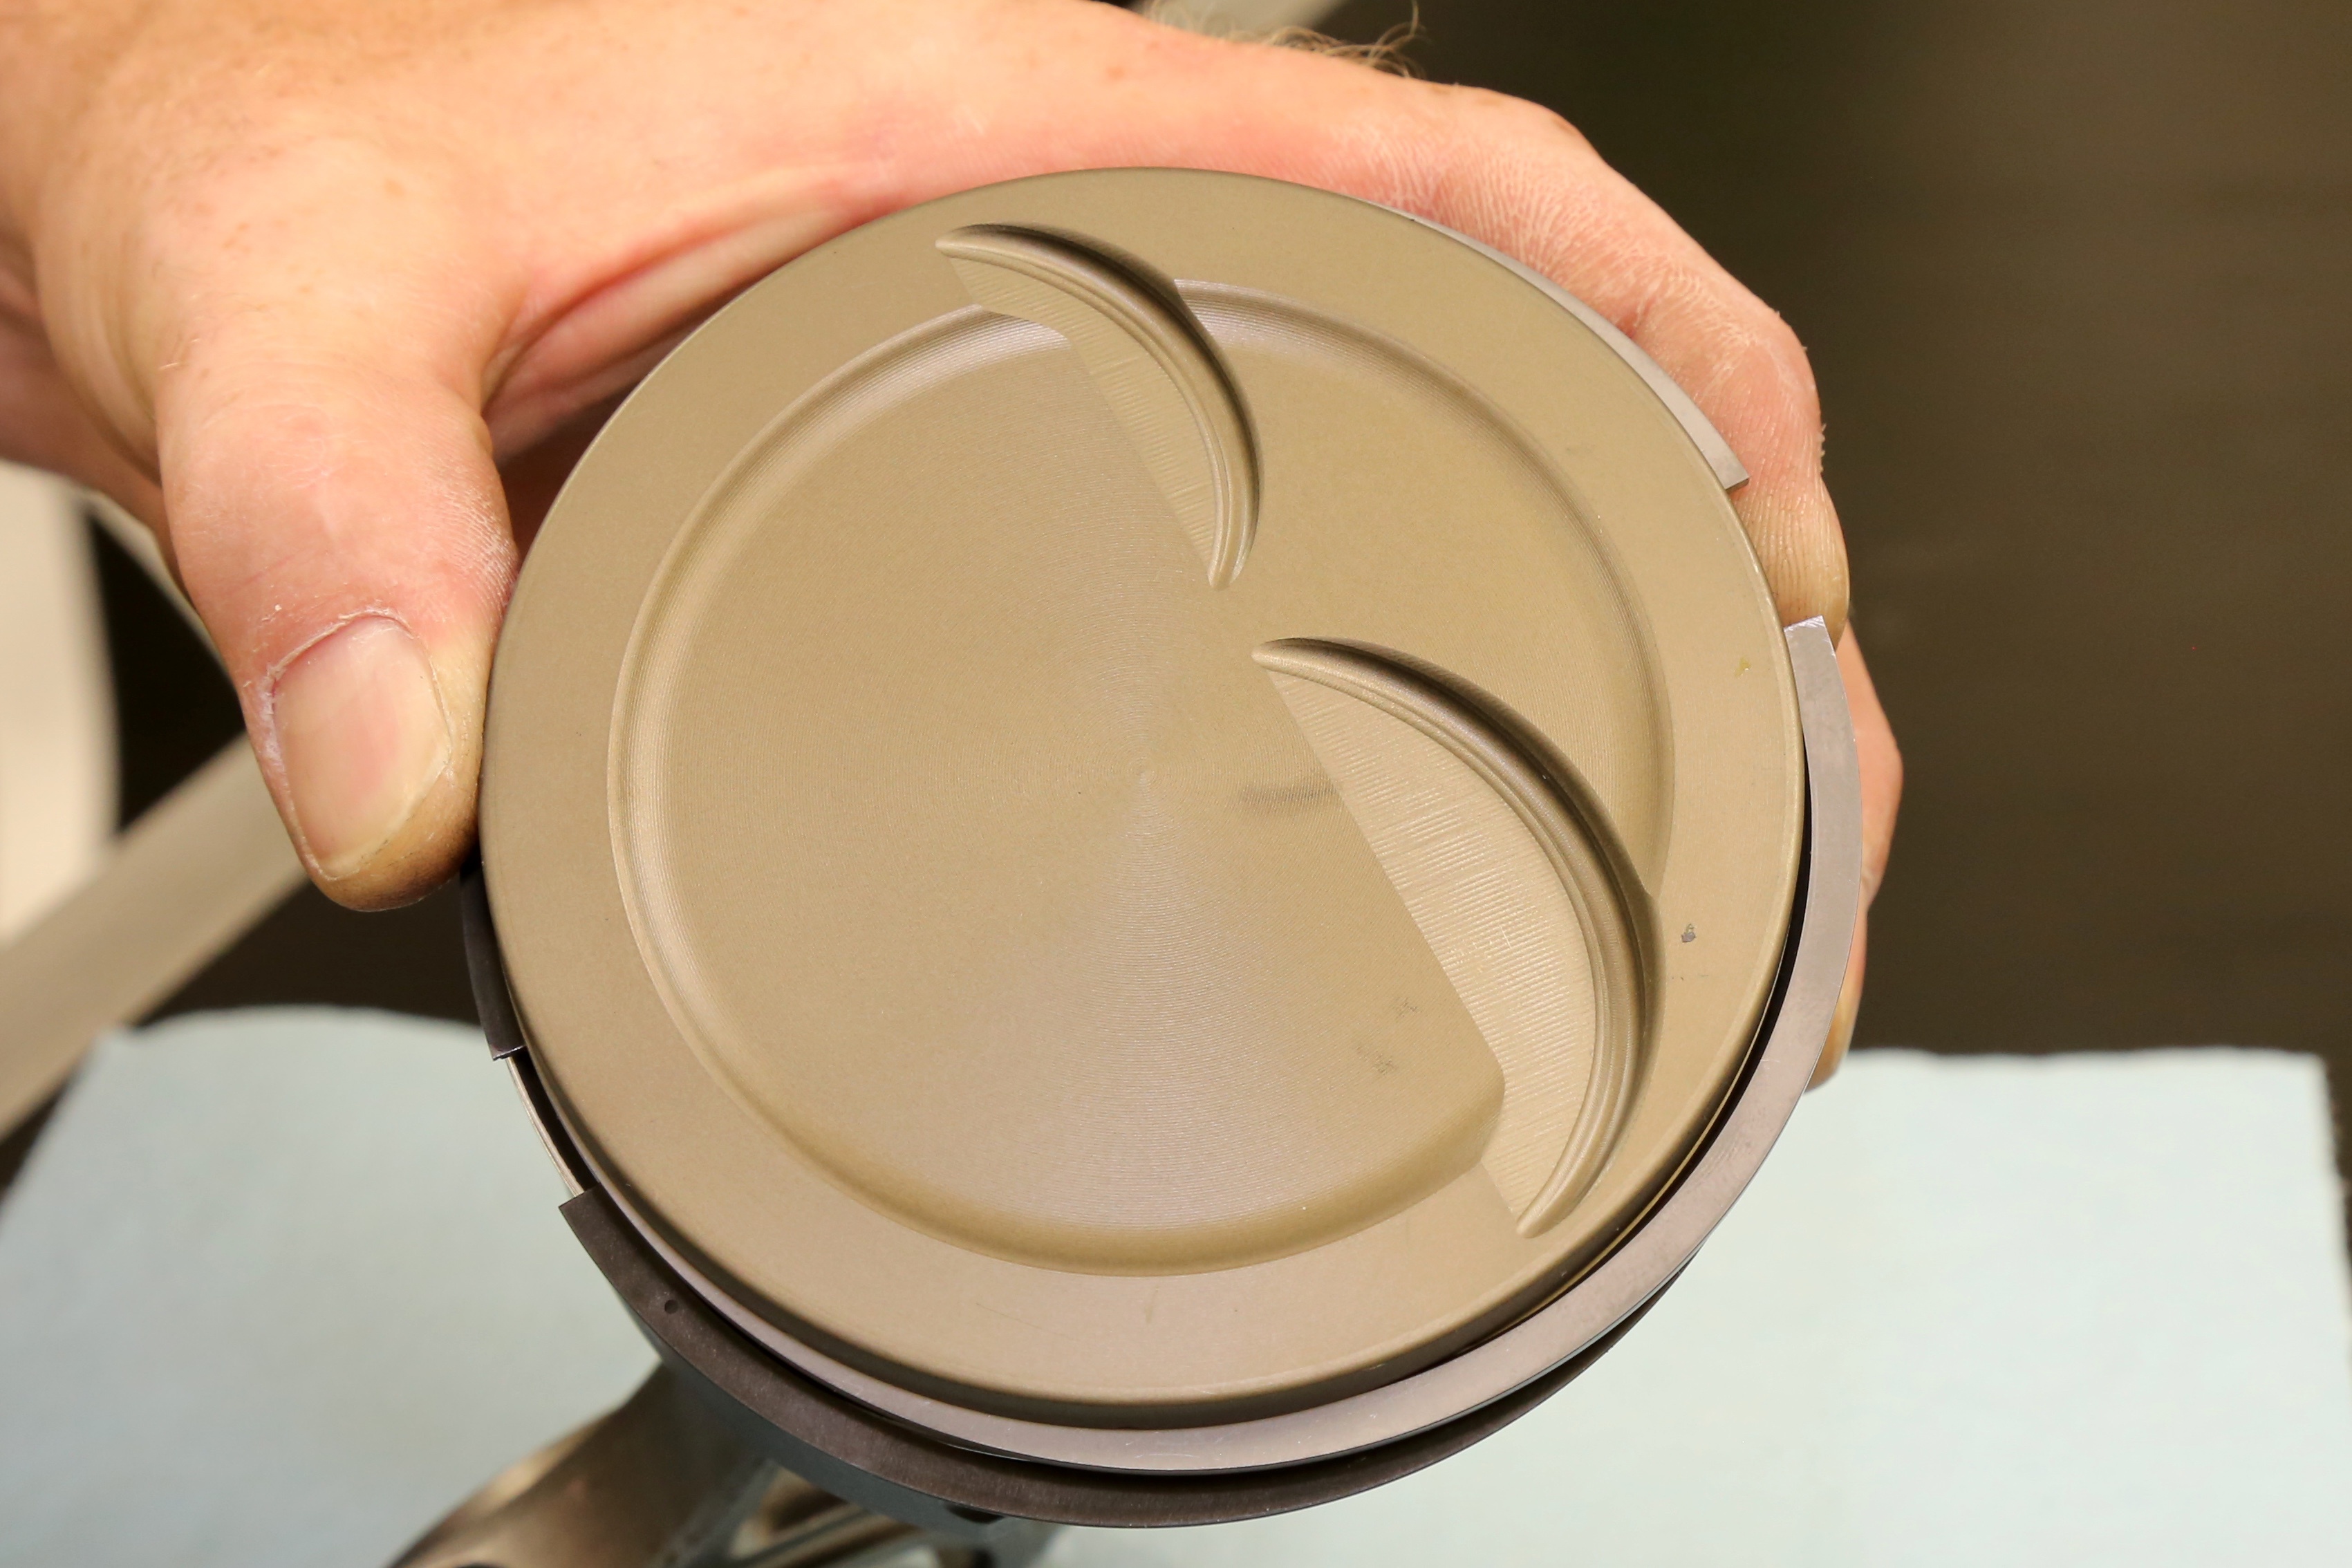
Following is a step-by-step installation guide, courtesy of CNC Motorsports in Brookings, South Dakota. Engine builder John Himley was installing Diamond pistons into a turbocharged small-block Chevy that will run on methanol, and so the gap was set accordingly.
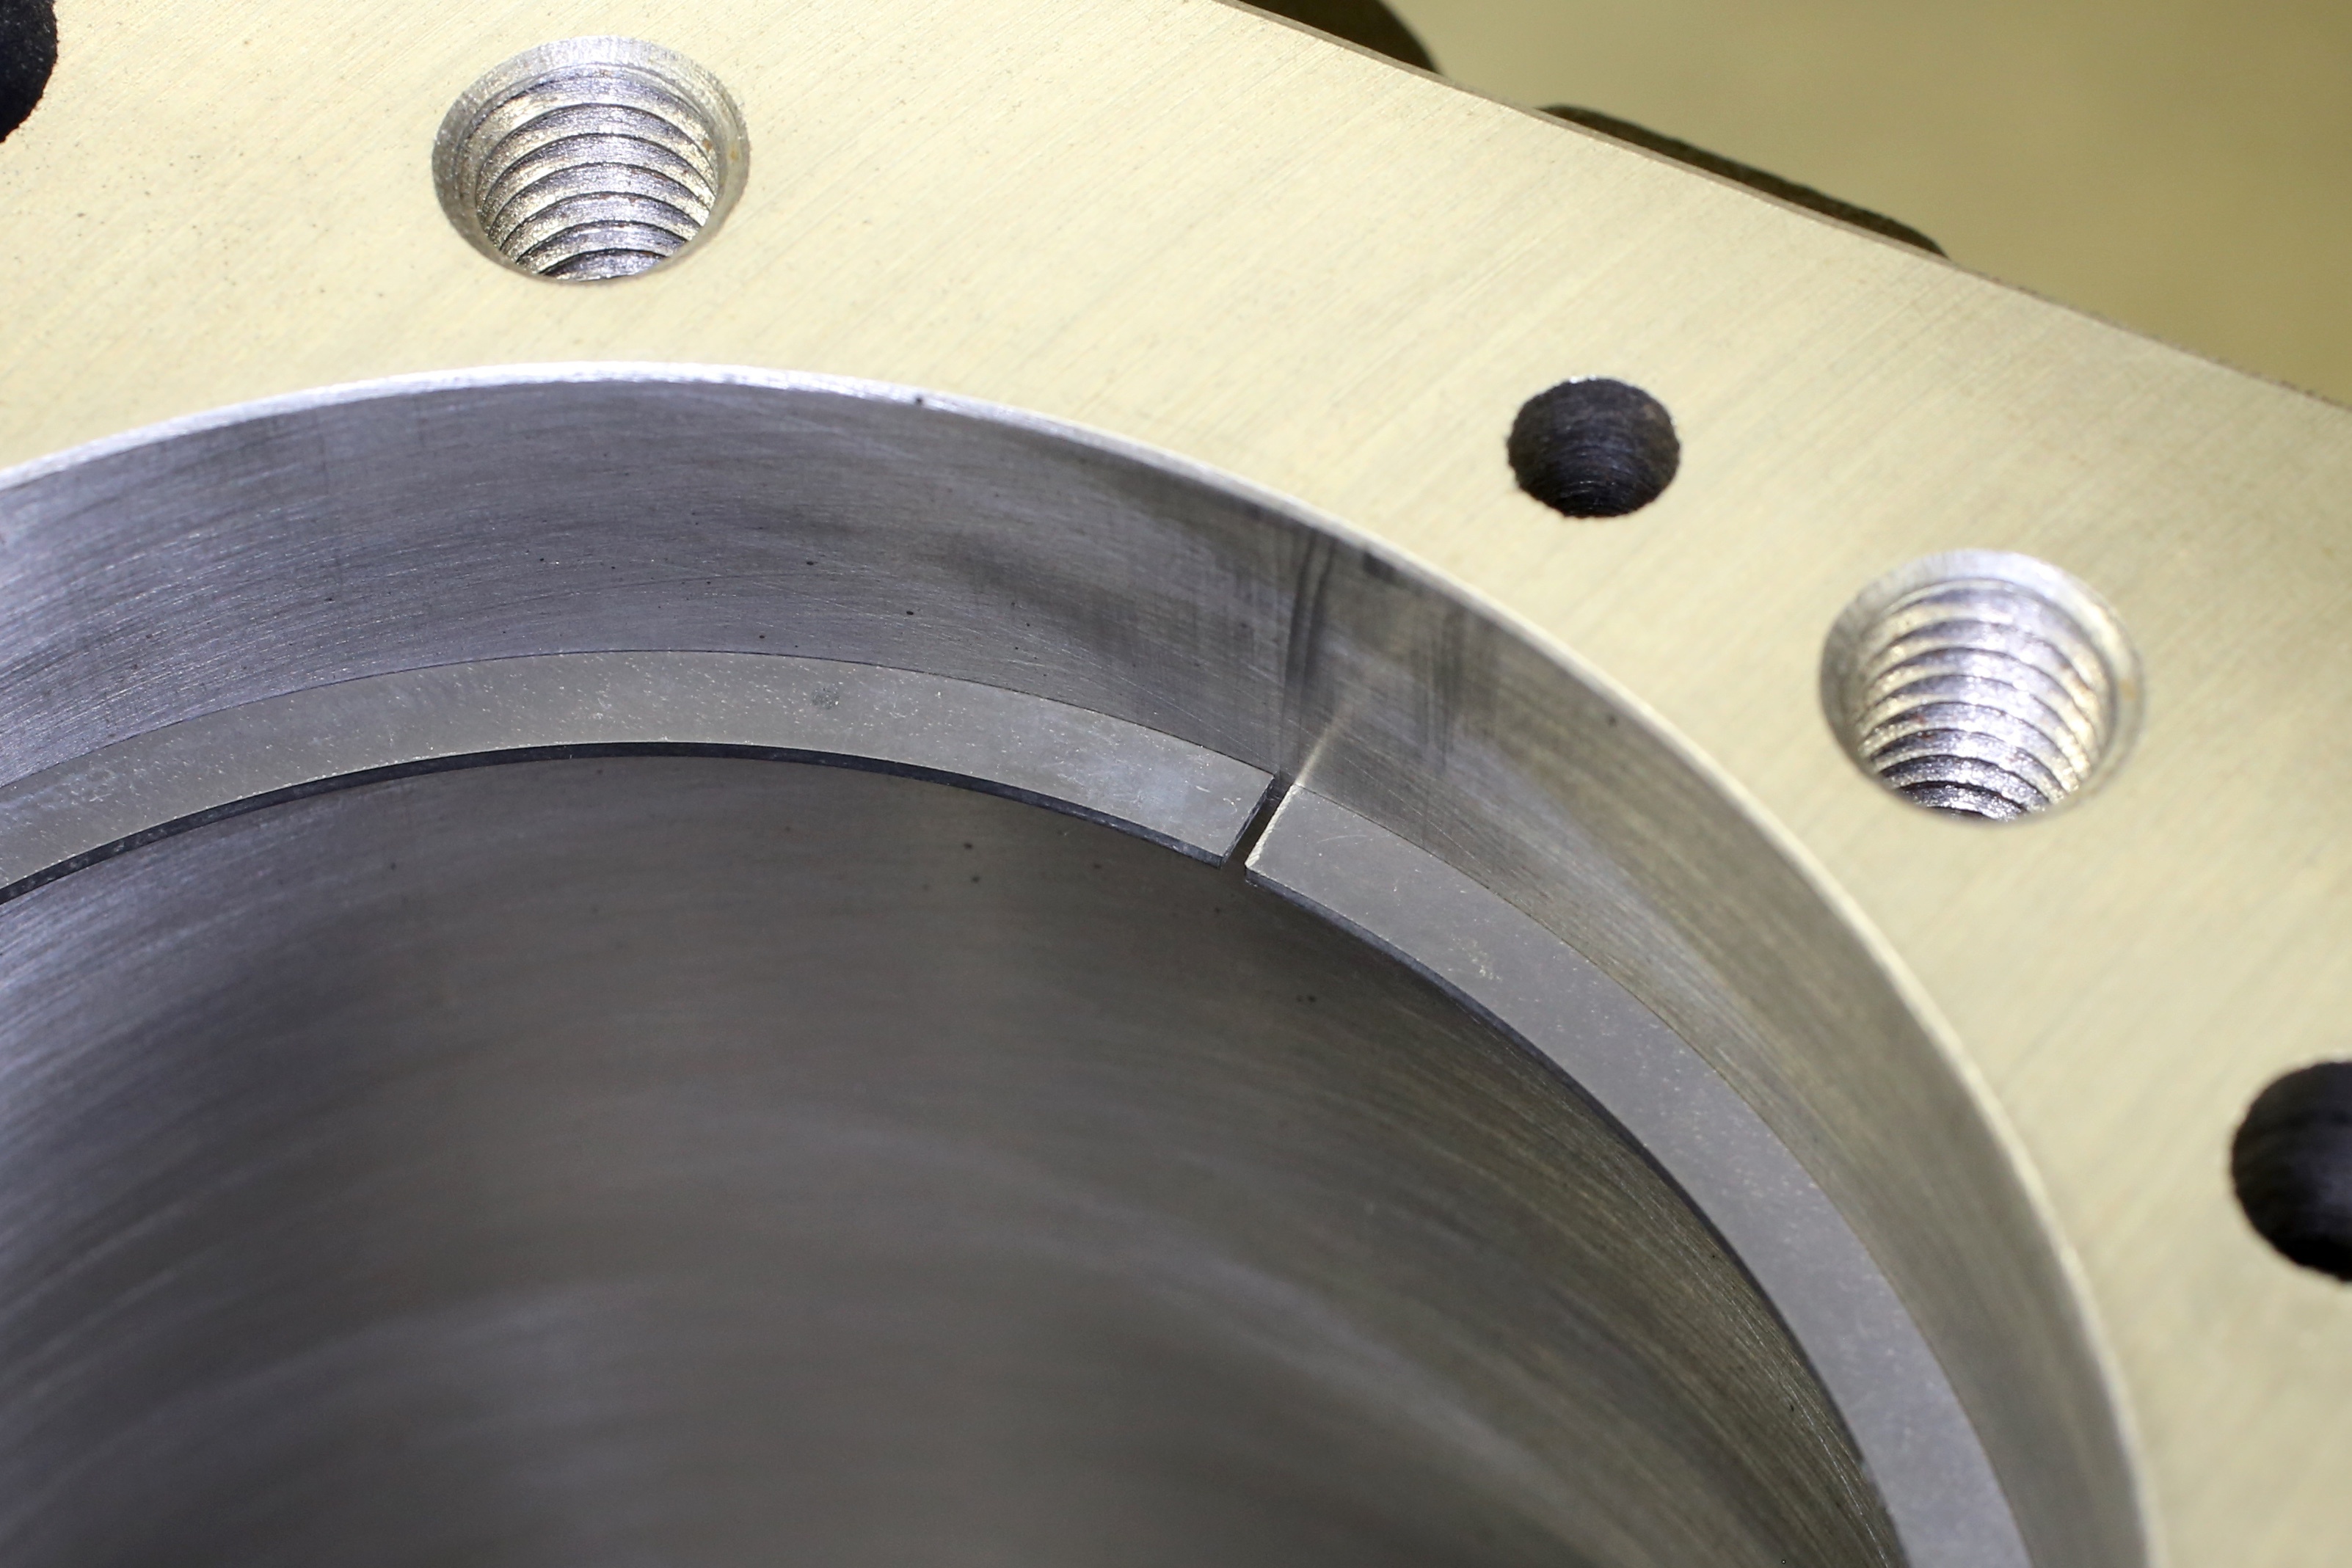
The pistons were also designed with a short compression height, which forced the wrist-pin bore into the oil ring groove. A support rail was then necessary to provide a solid surface that the oil ring can rest without fear of bending into pin bore. As you’ll see in the photos, this support rail must be installed correctly for optimum performance.